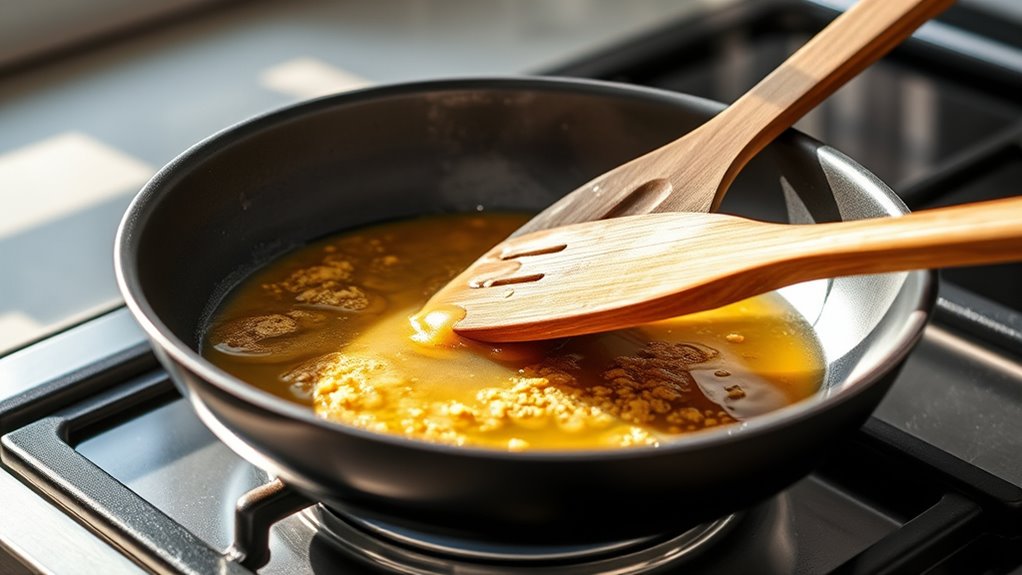
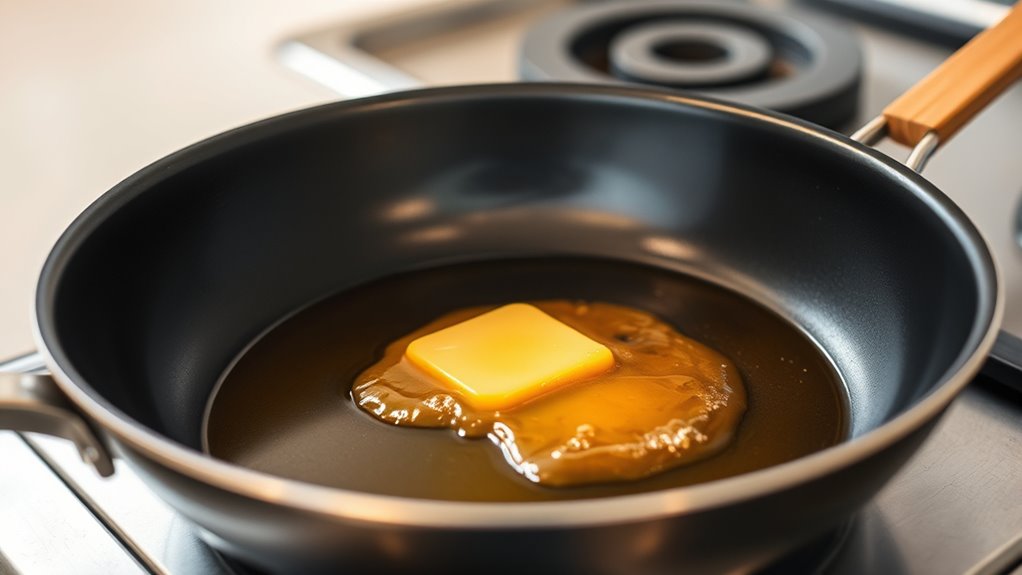
How You Can Brown Butter in a Nonstick Pan Safely
You can brown butter safely in a nonstick pan by using medium to medium-low heat to prevent coating damage and harmful fumes. Stir constantly with a wooden or silicone spatula to promote even browning without scratching.
Watch the butter carefully for a golden amber color, nutty aroma, and browned milk solids. Remove immediately to avoid burning.
Using unsalted, high-fat butter helps control flavor and browning. Keep your pan uncrowded and handle cooled butter properly to preserve quality.
There’s more to perfect this technique and maximize flavor. Following these steps ensures you get the delicious nutty taste of browned butter while protecting your nonstick pan’s surface.
Why You Must Be Careful Browning Butter in Nonstick Pans

Although nonstick pans seem convenient, you need to be careful when browning butter in them because the high heat can damage their coating and release harmful fumes. When you brown butter in a nonstick pan, the intense heat required can cause the coating to degrade quickly. This not only shortens the pan’s lifespan but also poses health risks.
Additionally, the dark color of many nonstick surfaces makes it tough to judge the butter’s color accurately, which is vital for perfect browning. You might miss the sweet, nutty aroma and proper caramelization since nonstick pans don’t promote the same flavor development as stainless steel.
To avoid these issues, you should understand the risks of using a nonstick pan at high heat before proceeding with browning butter.
Choosing the Right Heat for Browning Butter in Nonstick Pans
When browning butter in a nonstick pan, you need to use medium-low to medium heat to avoid overheating and guarantee gradual caramelization. Using medium heat allows the butter to melt and brown evenly, giving you better control over the color change without risking damage to the nonstick pan.
High heat can cause uneven browning and may ruin the coating, so it’s best avoided. Keep your pan in a well-lit spot so you can watch the butter’s transformation closely. This way, you’ll catch the perfect golden hue just in time.
Stirring Tips When Browning Butter in Nonstick Pans
When browning butter in a nonstick pan, use gentle stirring motions to avoid damaging the surface. Grab a heat-resistant spatula to keep the process safe and effective.
Make sure you maintain a constant stirring pace to evenly brown the butter without burning it.
Use Gentle Stirring Motions
To protect your nonstick pan while browning butter, use gentle, slow stirring motions with a heatproof spatula. Gentle stirring helps evenly distribute the heat and prevents hot spots that could burn the butter or damage the pan’s surface. Avoid vigorous scraping or aggressive movements—these can scratch the nonstick coating and shorten your pan’s lifespan.
Instead, move your spatula in smooth, circular or sweeping motions to gently lift and combine the milk solids as they brown. Keeping the heat at medium to medium-low also reduces the need for intense stirring. By stirring softly and continuously, you’ll brown butter evenly while preserving your nonstick pan’s integrity, ensuring safe and successful cooking every time.
Employ Heat-Resistant Spatulas
Gentle stirring works best with the right tool in hand. When browning butter in a nonstick pan, use a heat-resistant spatula made of silicone or wood to protect the pan’s surface. Avoid metal utensils that can scratch the nonstick coating.
Choose a spatula with a flexible, heatproof head that lets you scrape browned milk solids gently and evenly. Stirring constantly with this tool helps prevent hot spots and uneven browning, ensuring the butter cooks uniformly. Make sure your spatula can withstand temperatures up to 450°F or more to handle the heat safely.
Regularly scrape the pan’s bottom and sides with your heat-resistant spatula to avoid burning and maintain an even browning process without damaging your nonstick pan.
Maintain Constant Stirring Pace
Although browning butter requires careful attention, maintaining a constant stirring pace is key to preventing hotspots and ensuring even heat distribution in your nonstick pan. Stirring keeps the milk solids moving, promoting uniform caramelization and a rich nutty aroma.
It also helps you monitor the color change closely, so you can prevent burning and catch the perfect golden brown.
| Stirring Action | Effect on Butter |
|---|---|
| Slow, steady stirring | Even heat distribution |
| Frequent stirring | Prevents burning |
| Continuous stirring | Uniform caramelization |
| Careful observation | Ideal color change |
Picking the Best Butter Type for Nonstick Pan Browning
Why does the type of butter you choose matter when browning in a nonstick pan? Using unsalted butter gives you better control over the salt levels and the browning process. Salted butter often contains added salt and preservatives that can interfere with caramelization, leading to uneven color and flavor.
For a consistent, nutty taste, opt for high-quality, fresh unsalted butter. Since nonstick pans can heat unevenly, picking butter with a high-fat content—like European-style or cultured butter—helps achieve uniform browning and richer flavor.
This type of butter melts smoothly and caramelizes evenly, making your browning process more predictable and delicious. Choosing the right butter sets the foundation for safe and perfect browning every time.
How to Tell When Your Butter Is Perfectly Browned
Keep a close eye on the butter’s color as it shifts to a deep golden amber and notice the nutty aroma that fills the air. You’ll see the milk solids sink and turn rich brown, a key sign your butter is perfectly browned.
Once you spot these changes, remove the pan immediately to avoid burning.
Color Changes To Watch
When you see the butter turn a deep amber color and notice small brown specks forming at the bottom of the pan, you’ll know the milk solids have toasted perfectly. These specks are the key indicator that your butter is browned just right.
As the butter melts, foam will appear and then gradually subside, signaling that the browning process is underway. Keep a close eye on the color changes in your pan; it will shift from pale yellow to a rich, golden brown.
Once you reach that ideal browned color, remove the pan from the heat immediately to avoid burning. Watching these subtle color shifts helps you achieve perfectly browned butter every time without risking overcooking.
Aroma As An Indicator
How can you tell if your butter has browned perfectly without relying solely on its color? The answer lies in its aroma, which serves as a reliable indicator. When butter browns, it releases a nutty, fragrant scent that’s richer and more complex than simple melted butter.
Especially in a nonstick pan, where the dark surface can mask color changes, your nose becomes your best tool. Here’s how to use aroma as your guide:
- Heat the butter and sniff frequently to catch the evolving scent.
- Notice when the aroma turns nutty and toasted—this means the milk solids are browning.
- Remove the pan from heat once the fragrance peaks.
- Avoid waiting too long; burnt smells follow the fragrant stage quickly.
Timing And Texture Signs
Although the nutty aroma signals that your butter is browning, paying attention to timing and texture helps you nail the perfect finish. Watch the color of the butter—it should turn a deep amber after about 3-4 minutes as the milk solids brown. Notice the foam subsiding on the surface; this visual cue indicates the browning process is nearly complete.
You’ll also see brown milk solids sinking to the bottom of the pan, confirming that your butter is perfectly browned. If the butter darkens beyond amber or develops a bitter smell, you’ve overcooked it. By combining these visual cues with careful timing, you’ll stop the process right when the butter reaches that ideal, slightly thickened texture and rich flavor—ensuring perfect browned butter every time.
What to Do If Your Butter Starts to Burn
If your butter starts to burn, immediately take the pan off the heat to stop the bitter flavor from developing further. Burnt butter darkens beyond the ideal golden brown stage and can ruin your dish. Here’s what to do next:
- Remove the pan from the burner to halt the burning process.
- Scrape out any burnt bits and discard them, as they’ll add a bitter taste.
- If the butter is only slightly overcooked, strain it through a fine sieve or cheesecloth to remove burnt solids.
- Avoid stirring burnt butter back into your recipe to prevent bitterness.
Cooling and Storing Brown Butter Safely
Once your butter has reached the perfect golden brown without burning, you’ll want to handle it carefully to maintain its rich flavor and quality. Start by letting it cool in the pan for 10-15 minutes to avoid warping containers.
Then, transfer the brown butter into airtight, non-metallic containers like glass or silicone. This prevents oxidation and keeps the flavor intact. Store it in the fridge for up to two weeks or freeze small portions for three months.
Don’t forget to label each container with the date to track freshness.
| Step | Tip |
|---|---|
| Cooling | Let butter cool 10-15 minutes |
| Container | Use airtight glass or silicone |
| Storage | Refrigerate or freeze |
| Labeling | Mark date for freshness |
Why Avoid Overcrowding Your Nonstick Pan Matters
When you overcrowd your nonstick pan, heat can’t circulate properly, causing uneven browning and increasing the chances of burning your butter. Overcrowding also traps moisture, which stops milk solids from caramelizing and developing that rich, nutty flavor you want.
Plus, it makes temperature control tricky, risking damage to your pan’s coating. To avoid these problems, follow these tips:
- Use a pan size appropriate to the butter amount.
- Leave enough space for heat to distribute evenly.
- Avoid adding too much butter at once to prevent excessive foaming.
- Monitor the browning closely to prevent overheating.
How to Repurpose Brown Butter and Milk Solids for Flavor
Although browning butter requires careful attention, you can maximize its value by repurposing the browned milk solids to enhance your dishes. After browning, scrape the browned milk solids from the pan—they’re packed with a nutty flavor perfect for elevating baked goods or as a topping.
To avoid bitterness, filter out any burnt bits using a coffee filter, ensuring you repurpose only the flavorful parts. You can also stir these solids into sauces or spreads, amplifying aroma with toasted, caramelized notes.
Store your brown butter and browned milk solids together in an airtight container in the fridge for up to five days, so you can easily add depth of flavor without the raw butter taste in future recipes.
Frequently Asked Questions
Can I Brown Butter in a Nonstick Pan?
Yes, you can brown butter in a nonstick pan, but keep the heat low, stir constantly, and watch carefully to avoid burning.
This helps you manage uneven heat and prevents the butter from sticking or burning.
What Kind of Pan Should I Brown Butter In?
You should brown butter in a stainless steel or enameled cast-iron pan, as these distribute heat evenly and let you see the butter’s color change clearly.
About 70% of chefs prefer these for perfect browning.
Is It Okay to Put Butter in a Non-Stick Pan?
Yes, you can put butter in a non-stick pan, but keep the heat moderate to avoid damaging the coating. Watch the butter closely to prevent burning, and remember non-stick pans might not brown butter as well as stainless steel.
How to Brown Butter in a Pan?
Imagine coaxing golden sunshine from butter—melt it over medium heat, stirring constantly. Watch it dance to a nutty aroma and rich brown hue, then promptly remove it from heat to stop the magic before bitterness sneaks in.
Conclusion
Browning butter in your nonstick pan isn’t just cooking—it’s a delicious dance of heat and patience. By choosing the right temperature, stirring gently, and watching closely, you’ll reveal that nutty, golden magic without burning a single drop.
Remember, a little care goes a long way in turning simple butter into a flavor powerhouse. So, next time you brown butter, treat it like a treasure—because every browned drop tells a tasty story.
Mastering how you can brown butter in a nonstick pan safely ensures you get that perfect balance of flavor and texture every time. With these simple steps, your cooking will reach new heights.