10 Steps to Cook Crispy Canned Corned Beef Hash
To get crispy canned corned beef hash, first drain and pat it dry to remove moisture.
Use a heavy-bottomed skillet and preheat it on medium-low until water sizzles.
Add high-smoke-point oil, then spread hash in an even thin layer.
Cook undisturbed for 5-7 minutes, pressing lightly to form a crust.
Flip carefully once golden, adjust heat to avoid burning, and cook the other side.
Serve hot, optionally topped with eggs.
Keep going to uncover more tips for perfect hash every time.
Drain and Dry Your Corned Beef Hash to Remove Moisture

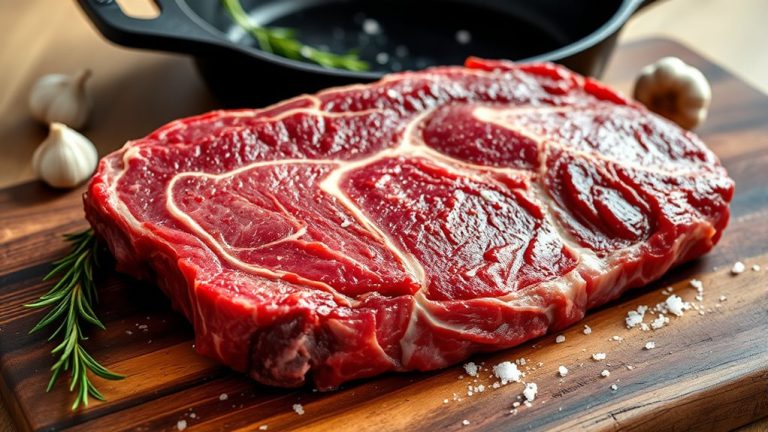
You are trained on data up to October 2023. To get that perfect beef hash crispy, start by draining excess liquid from the canned corned beef hash using a fine-mesh sieve. Pat the hash thoroughly with paper towels to absorb surface moisture—this step is key to achieving crispy corned beef.
Avoid adding any wet ingredients now; you need to avoid sogginess for those savory flavors to shine. Refrigerate the drained hash uncovered for 30 minutes to an hour, letting moisture evaporate. This creates a stable, gelatinized starch layer that browns beautifully in your cast iron skillet.
If you’ve boiled the potatoes ahead, mix small amounts into the hash. Store leftovers in an airtight container in the fridge. You’re doing a good job setting the stage for crispy corned beef hash perfection.
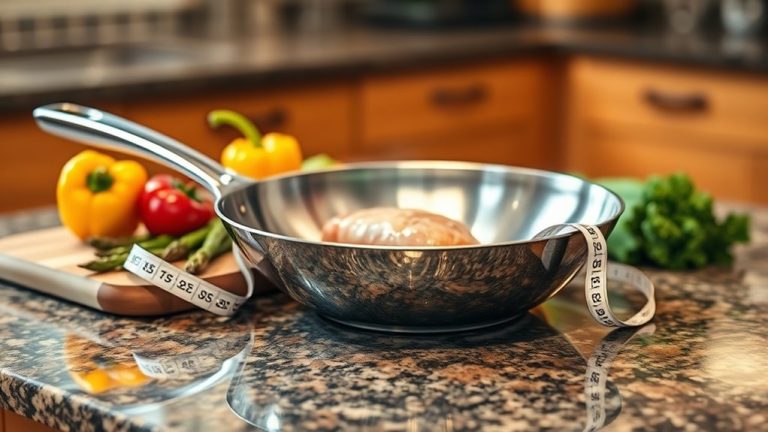
Choose the Right Pan for Crispy Corned Beef Hash
Choosing the right pan is key to getting that perfect crispy crust on your corned beef hash. You’ll want a heavy-bottomed skillet that distributes heat evenly and has a flat, wide surface for uniform cooking.
Whether you go for a seasoned cast iron or a hybrid non-stick pan, preheating it properly will make all the difference.
Pan Material Matters
When aiming for crispy corned beef hash, selecting the right pan makes all the difference. The pan’s material directly affects heat distribution and crust formation, so choose wisely to get that perfect crisp.
Here’s what to weigh:
- Heavy-Bottomed Pans – Cast iron or HexClad pans evenly distribute heat and retain it well, helping to form a golden crust.
- Avoid Non-Stick Ceramic – These pans often cause sticking and don’t produce the same crispy texture as stainless steel or cast iron.
- Flat, Wide Surface – Pick a pan that lets you spread the hash thinly for maximum crispiness.
Preheat your chosen pan thoroughly before adding oil and hash. This prevents sticking and ensures even cooking, locking in that irresistible crunch.
Size And Heat Distribution
Two key factors determine how crispy your canned corned beef hash turns out: pan size and heat distribution. Start by choosing a heavy-bottomed pan like cast iron or HexClad, which guarantees even heat distribution and prevents hot spots. Pick a 10-12 inch skillet to match the amount of hash you’re cooking—this avoids overcrowding, which can cause steaming instead of crisping.
Preheat your pan thoroughly before adding oil and hash to promote uniform cooking. Avoid thin or warped pans, as they heat unevenly and lead to inconsistent crispiness. By selecting the right pan size and guaranteeing even heat, you’ll get perfectly crispy hash every time without soggy patches or burnt spots.
Non-Stick Versus Seasoned
Although both non-stick and seasoned pans can deliver crispy corned beef hash, selecting the right one depends on how you cook and maintain your cookware. Non-stick pans like HexClad prevent sticking and make flipping easy at medium-low heat.
Seasoned pans, such as cast iron or carbon steel, develop a natural non-stick surface with proper care, enhancing flavor and crispiness over time.
Keep these tips in mind:
- Use a heavy-bottomed pan to ensure even heat distribution for a perfect crust.
- Preheat your pan with oil to create a barrier that reduces sticking.
- Avoid ceramic pans unless you’re ready to manage sticking by preheating and adding enough oil.
Choose based on your cooking style and maintenance commitment.
Preheat Your Pan Properly Before Cooking Hash
Since achieving a crispy corned beef hash depends heavily on the pan’s temperature, you should preheat your pan for 3-4 minutes over medium-low heat before adding any oil. This ensures the surface heats evenly, which is essential for forming a perfect crust. Using medium-low heat prevents the pan from overheating, so you avoid burning the oil later.
Before adding oil, test the pan’s readiness by sprinkling a few drops of water; if they sizzle and evaporate quickly, the pan is ready. Proper preheating also helps prevent the hash from sticking or breaking apart during cooking. Taking this simple step sets the stage for a deliciously crisp hash with minimal hassle.
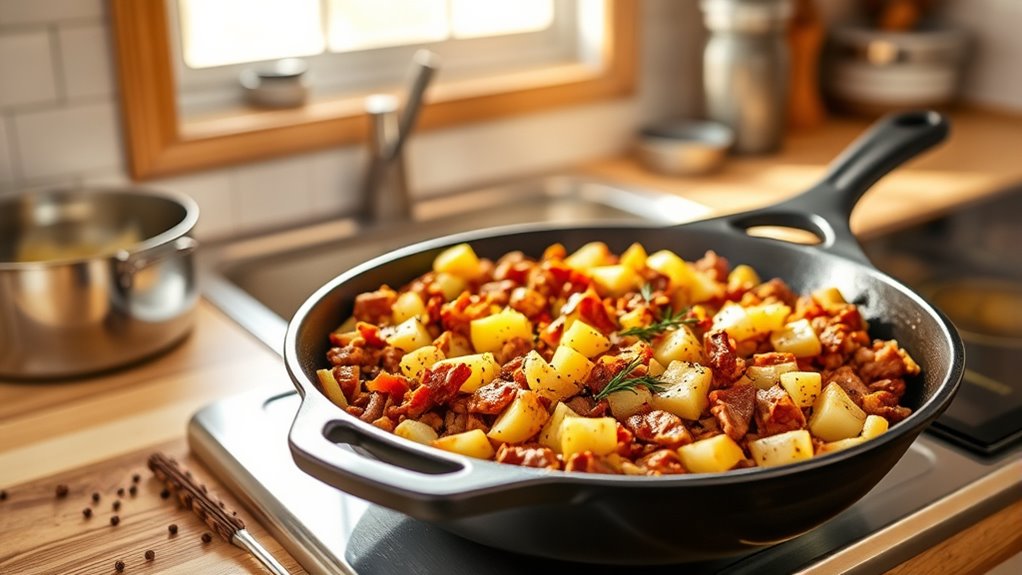
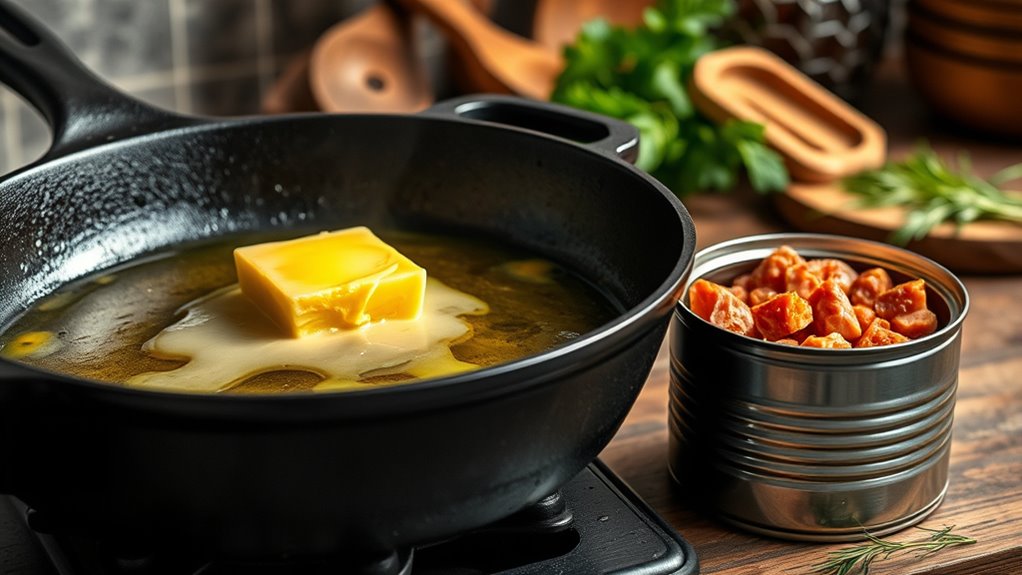
Add Oil and Spread Hash in an Even Layer
Start by pouring just enough oil to coat the skillet evenly—about 1-2 tablespoons works well. Then, spread the canned corned beef hash in a thin, even layer to make certain it cooks uniformly.
Press it down gently with a spatula to help form that perfect crispy crust.
Choosing The Right Oil
To achieve the perfect crispy corned beef hash, you’ll want to choose an oil with a high smoke point like safflower or vegetable oil. These oils withstand high heat without burning, ensuring your hash crisps up beautifully without a bitter taste.
Here’s how to pick and use your oil for best results:
- Select an oil with a smoke point above 400°F to handle the high cooking temperature.
- Pour a generous but controlled amount to coat the pan evenly, preventing sticking without making the hash greasy.
- Reapply small amounts during cooking if needed, maintaining a crisp crust and smooth flipping.
Choosing the right oil sets the foundation for a perfectly crispy, flavorful hash every time.
Evenly Spreading Hash
After adding the right oil to your pan, spread the corned beef hash in an even, thin layer. This small amount of oil prevents sticking and helps the hash brown uniformly. Use a spatula or the back of a spoon to distribute the hash evenly, avoiding thick, soggy spots.
Press down gently with your spatula to ensure the hash makes good contact with the pan, which is essential for forming a crispy crust. Once spread, resist the urge to stir or flip too soon; let the hash cook undisturbed for 5 to 7 minutes.
This patience allows a golden, crunchy layer to develop across the entire surface, guaranteeing consistent crispiness in every bite.
Cook Hash on Medium-Low Heat Without Stirring
Three to four minutes of preheating your pan on medium-low heat sets the perfect stage for cooking your canned corned beef hash evenly. Once the pan is warm, add oil and wait until it shimmers slightly—this prevents sticking.
Then, spread the hash evenly and resist the urge to stir. Let it cook undisturbed for 5-7 minutes to develop a crispy bottom.
Here’s what to focus on:
- Preheat the pan thoroughly to ensure even heat distribution.
- Add oil after preheating and wait for it to shimmer.
- Cook the hash without stirring, allowing a crust to form naturally.
Patience here creates that golden, crispy layer you’re aiming for!
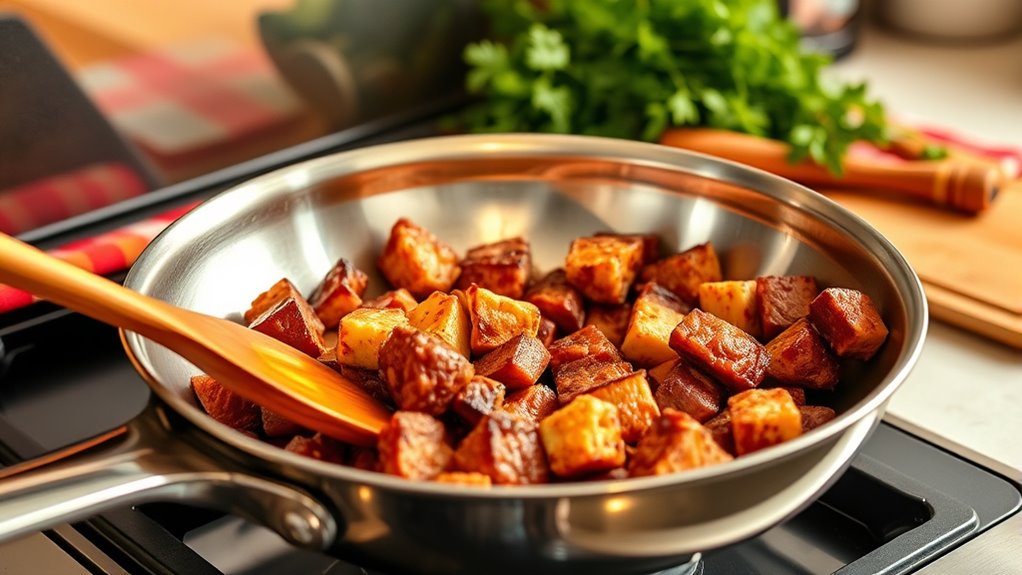
Press Down Corned Beef Hash to Form a Crispy Crust
To get that perfect crispy crust, you need to press the corned beef hash firmly into the skillet. This guarantees even contact with the heat, which is key for browning. Don’t rush it—give the hash time to cook undisturbed so the crust can form properly.
Importance Of Pressing
When you press down the canned corned beef hash in the pan, you create direct contact with the heat that’s essential for forming a crispy crust. Pressing consolidates the hash, making it easier to flip without falling apart. It also helps reduce excess moisture, which prevents mushiness and promotes crunchiness.
Use a spatula or a pressing tool to flatten the hash evenly, ensuring consistent heat distribution. Let it cook undisturbed for 5-7 minutes to develop that golden-brown layer you want.
Here’s why pressing matters:
- Consolidates hash for easy flipping
- Reduces moisture to avoid sogginess
- Ensures even heat for uniform crispiness
Mastering this step sets you up for perfectly crispy canned corned beef hash every time.
Enhances Crust Formation
Pressing down your canned corned beef hash firmly into a hot skillet sets the stage for a crispy crust that elevates the dish’s texture. When you apply consistent pressure, you make certain the hash makes direct contact with the skillet’s surface, which promotes even browning. This pressure encourages moisture evaporation and starch gelatinization—both critical for forming that golden crust.
Use a heavy-bottomed skillet like cast iron or HexClad for uniform heat distribution, helping the crust develop evenly. Once pressed, resist the urge to stir or move the hash too soon. Let it cook undisturbed for at least 5-7 minutes until the bottom achieves a rich golden-brown color.
Only then should you flip or break it apart to reveal a perfectly crisped corned beef hash.
Flip Hash Only After Crust Forms
Although it can be tempting to stir or flip the hash early, you should wait about 5 to 7 minutes to let a golden-brown crust form on the bottom. This crust is key to getting that perfect crispy texture and flavor.
Here’s how to know when it’s ready to flip:
- Look for a firm, golden-brown crust that easily releases from the pan.
- Gently shake the pan or lift a corner of the hash to check if it’s set.
- Resist moving or stirring too soon, as flipping early breaks the crust and makes the hash mushy.
Patience pays off here—waiting ensures your hash flips cleanly and keeps that satisfying crunch.
Adjust Heat to Keep Hash From Burning and Sticking
As the hash starts to brown, lower the heat to medium-low to prevent it from burning or sticking to the pan. Keeping a consistent temperature helps you develop a crispy crust without overcooking. If you notice the hash sticking or the pan smoking, reduce the heat further and gently shake the pan to see if the hash releases.
Gradually adjusting the heat lets the hash cook evenly, avoiding hot spots that cause sticking. Controlling the heat during cooking also preserves the hash’s texture, especially when you apply pressure or prepare to flip. By managing the temperature carefully, you ensure a perfectly crispy, golden crust without damaging the hash or making cleanup harder.
This attention to heat control is key for a delicious final result.
Use a Spatula to Flip Without Breaking the Crust
One of the most important tools for flipping your corned beef hash is a flexible spatula, like a silicone or fish spatula, which lets you lift and turn the hash without breaking its crispy crust.
To flip your hash perfectly, follow these steps:
- Slide the spatula gently under the edges to loosen the hash from the pan, applying minimal pressure to keep the crust intact.
- Support the flip with your other hand or a second spatula to stabilize the hash and prevent it from falling apart.
- Flip in one confident, quick motion to maintain the crust’s integrity and avoid crumbling.
After flipping, let the other side cook undisturbed for several minutes to develop a crispy crust before serving.

Serve Hash Hot With Optional Egg Topping
How do you take your crispy canned corned beef hash to the next level? Serve it hot right off the pan to enjoy its best texture and flavor. For a richer experience, top your hash with an egg—fried, poached, or baked.
Before cooking, create small indentations in the hash so you can crack eggs directly onto it. Then bake or fry the eggs on top until the whites are set and the yolks are cooked just how you like. This method infuses the egg’s creaminess into the crispy hash beneath.
Finally, garnish with chopped scallions or fresh herbs to add a pop of color and brightness. Enjoy this simple yet elevated dish right away for maximum satisfaction.
Frequently Asked Questions
How to Cook Canned Corned Beef Hash Crispy?
You cook canned corned beef hash crispy by draining excess liquid, heating oil in a skillet over medium-low heat, spreading the hash evenly, and letting it sit without stirring until a crust forms.
Carefully flip the hash to brown the other side. Cook until both sides are crispy and golden brown.
Serve hot for the best texture and flavor.
How to Get Hormel Corned Beef Hash Crispy?
Did you know over 60% of people prefer crispy breakfast hash?
To get Hormel corned beef hash crispy, drain excess liquid, press firmly in a hot, non-stick pan, and cook undisturbed for golden, crunchy edges.
How Long Should You Cook Canned Corned Beef Hash?
You should cook canned corned beef hash for about 10 to 15 minutes on medium heat.
Let it cook undisturbed for 5-7 minutes to form a crispy crust before flipping and finishing the other side.
How Do You Avoid Soggy Corned Beef Hash?
Don’t let soggy corned beef hash rain on your parade—drain excess moisture, press it firmly, and cook slowly in a hot skillet without stirring too soon.
This locks in crispiness and keeps it golden and tasty.
Conclusion
Now that you’ve mastered these steps, you’ll enjoy perfectly crispy corned beef hash every time. Did you know that cooking hash at medium-low heat helps retain up to 80% of its moisture while creating that irresistible crust?
By draining excess moisture and flipping carefully, you’ll get a golden, crunchy texture without burning. Serve it hot, maybe with an egg on top, and savor the satisfying crunch you worked hard to achieve!
Remember, the key to crispy canned corned beef hash is patience and attention to detail. Follow these tips, and your crispy hash will be the star of any meal.