
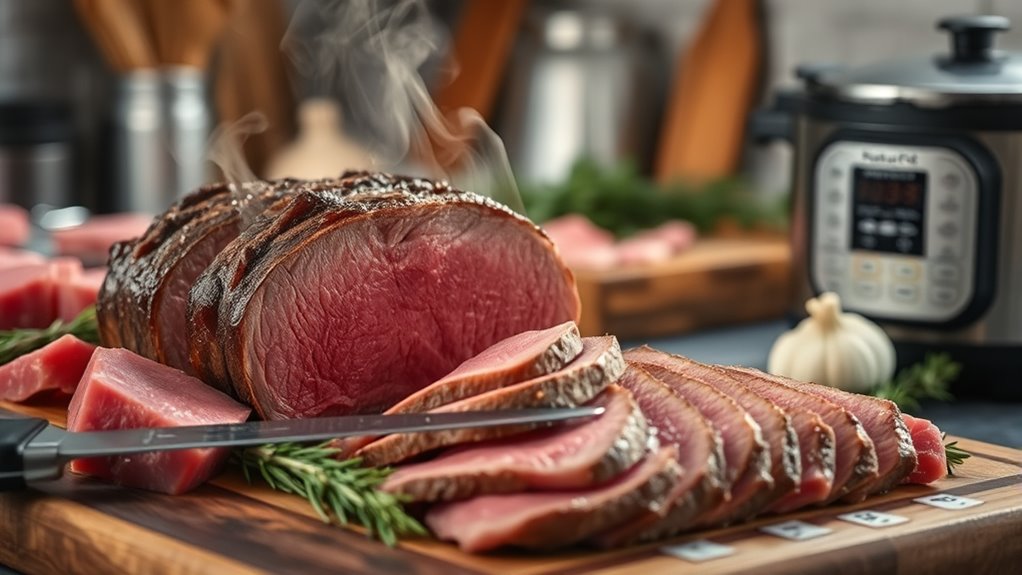
How Long to Pressure Cook Roast Beef in 10 Easy Steps
To pressure cook roast beef, start by selecting a tougher cut like chuck or brisket and seasoning it well. These cuts are ideal for pressure cooking because they become tender and flavorful with the right technique. Searing the roast on all sides helps lock in the juices and enhances the taste.
Cook the seasoned roast on high pressure for about 60-80 minutes if it weighs between 3 to 5 pounds. For larger or frozen cuts, increase the cooking time accordingly to ensure thorough cooking. Using a natural pressure release after cooking is key to achieving tender, juicy meat.
If you plan to add vegetables, adjust the timing so they don’t become mushy during the pressure cooking process. Follow these simple steps, and you’ll consistently enjoy perfectly cooked roast beef.
Plus, learn tips to make rich gravy and store leftovers properly for future meals.
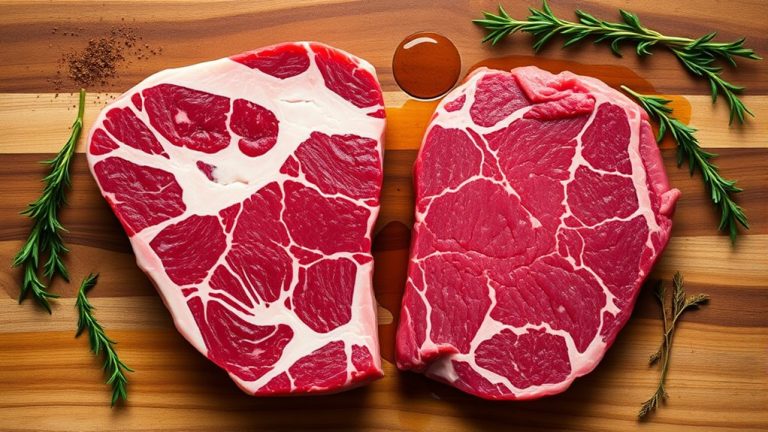
How to Choose the Best Cut of Beef
When selecting beef for pressure cooking, you’ll want to focus on tougher cuts like chuck roast, brisket, round, and rump because their connective tissue breaks down nicely under high pressure, making the meat tender and flavorful. Chuck roast is a top choice since its marbling keeps the beef juicy throughout cooking.
While leaner cuts like round or sirloin are available, they risk becoming tough if overcooked, so cuts with some fat and connective tissue perform better. You might also consider bone-in cuts; they add flavor and moisture but often need longer cooking times.
Always pick a fresh cut of meat that has a firm texture and bright color for the best results. Choosing the right beef ensures your pressure cooking yields tender, delicious roast beef every time.
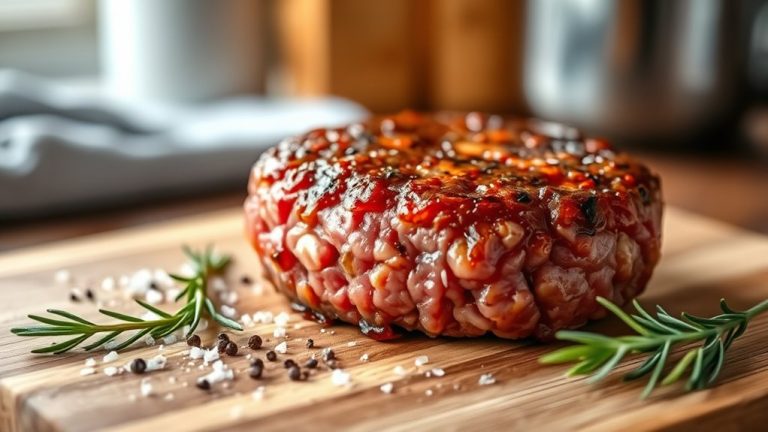
How to Season and Prep Your Roast Beef
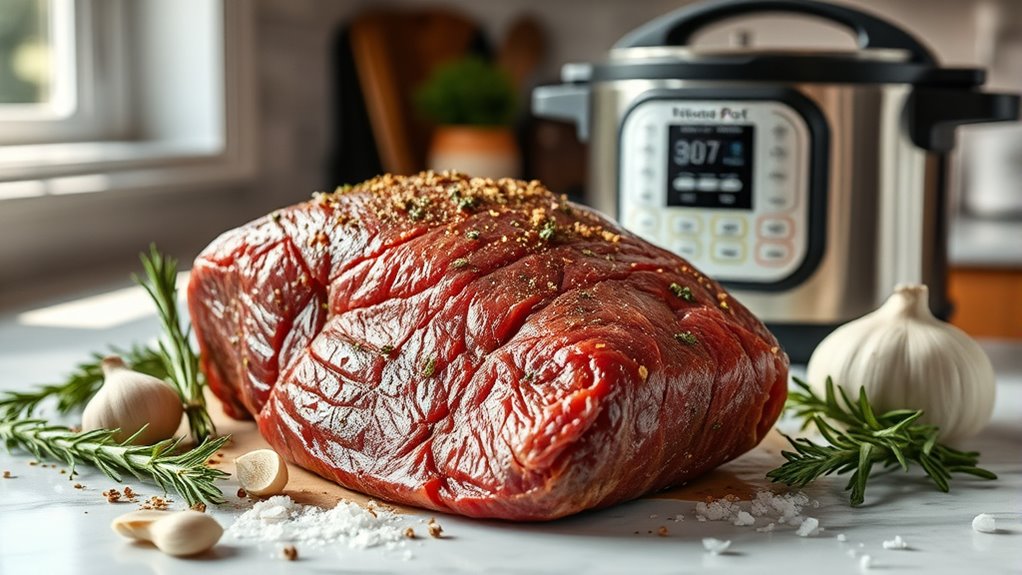
You’ll want to season your roast beef generously with salt, pepper, and herbs like rosemary or thyme to boost its flavor. Before cooking, pat the meat dry to help it sear properly and create a nice crust.
Adding garlic or onion powder and searing the roast in hot oil will make a big difference in taste and texture.
Choosing Seasonings Wisely
Although seasoning might seem straightforward, choosing the right spices and prepping your roast beef properly can transform your meal. Start by patting the beef dry so the seasonings stick well and form a nice sear. Season generously with salt, pepper, and herbs you love to boost flavor.
For extra depth, use a marinade or rub that includes garlic, onion powder, or paprika. Adding acidic ingredients like vinegar or Worcestershire sauce not only adds taste but helps tenderize the meat. After seasoning, let your roast rest at room temperature for 30 minutes to an hour.
This resting time allows the flavors to fully penetrate, ensuring every bite is delicious and well-seasoned before you pressure cook.
Preparing Meat Properly
Before pressure cooking your roast beef, make sure to pat it dry with paper towels and season it generously with salt, pepper, and your favorite herbs. This seasoning not only boosts flavor but also helps create a flavorful crust. Rub the spices evenly on all sides of the meat for consistent taste.
Next, let your roast rest at room temperature for about 30 minutes; this resting step ensures even cooking throughout. For better browning, sear the roast in a hot pan before pressure cooking—dry meat browns much more effectively.
If you have time, marinate the roast with herbs, garlic, and a bit of acid like lemon juice or vinegar for several hours. Proper preparation like this sets the stage for tender, delicious results.
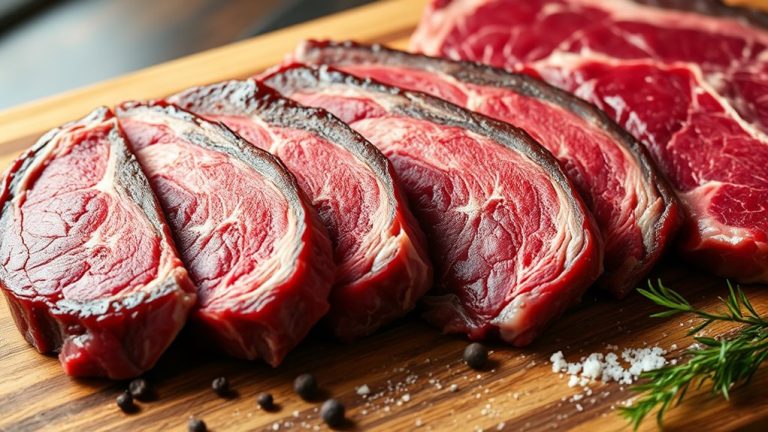
Why You Should Sear the Roast Before Pressure Cooking
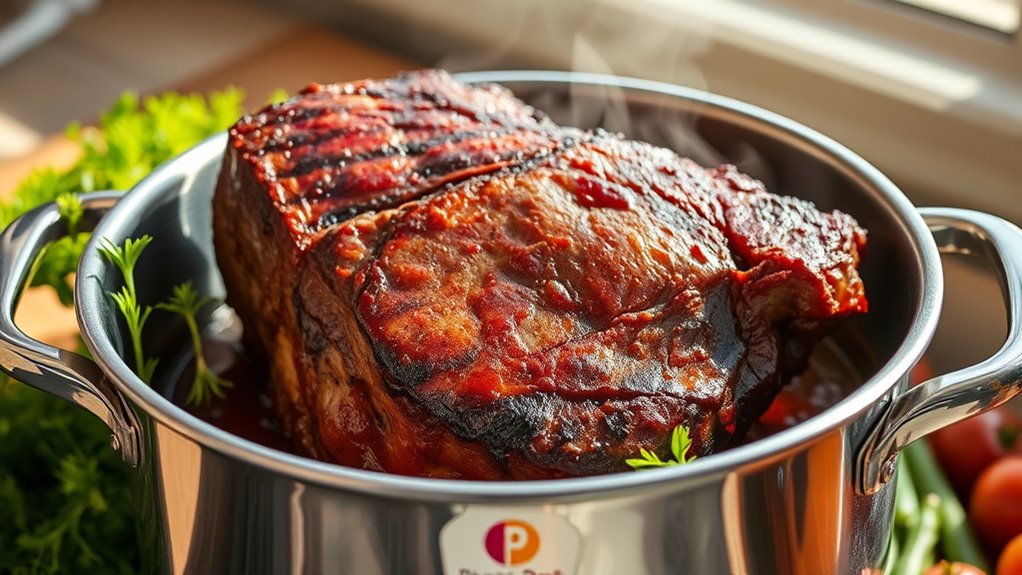
When you sear the roast prior to pressure cooking, you develop a rich brown crust that intensifies the beef’s flavor. This browning triggers the Maillard reaction, creating complex, caramelized notes that pressure cooking alone can’t achieve.
Searing not only enhances taste but also improves the roast’s appearance, making your dish look as good as it tastes. By quickly browning the meat’s surface, you lock in moisture, which helps keep the roast tender and juicy after cooking.
This flavorful barrier reduces the risk of dryness and toughness, ensuring every bite is succulent. So, don’t skip searing—it’s a simple step that brings out the best flavor and texture in your roast beef before pressure cooking.
How to Set Cooking Time for Fresh Roast Beef
You’ll want to set your pressure cooker for 60 to 80 minutes on high for a 3- to 5-pound fresh roast beef. Keep in mind that larger or thicker cuts need more time, roughly 20 extra minutes per pound.
Always check the internal temperature to make sure your roast reaches your preferred doneness.
Ideal Cooking Durations
Although cooking times vary by roast size and cut, setting the right pressure cooking duration is vital to achieving tender, flavorful beef. For a fresh roast beef weighing 3 to 5 pounds, pressure cook on high for 60 to 80 minutes. A 3-pound roast usually needs about 60 minutes for meat that’s tender and easy to shred.
If your roast is larger than 5 pounds, add 10 to 15 minutes per extra pound. Keep in mind that different cuts, like brisket or chuck, may require adjustments in cooking time to reach perfect tenderness. After pressure cooking, always perform a natural pressure release for about 10 minutes to keep the beef juicy.
Following these guidelines ensures your pressure-cooked beef turns out delicious every time.
Factors Affecting Timing
Setting the right cooking time depends on several factors beyond just the roast’s weight. While the general guideline is 20-25 minutes per pound on high pressure, your pressure cooking time needs adjustment based on the beef cut. Tougher cuts like chuck or brisket require longer to reach ideal tenderness, sometimes adding 5-10 extra minutes per pound.
The roast’s thickness and shape also influence timing; thicker pieces take more time to cook evenly. Pre-searing your roast before pressure cooking can shorten the pressure cooking time by enhancing flavor and tenderness. Don’t forget to consider your preferred doneness level—rare or medium will need less time than well-done.
How to Adjust Cooking Time for Frozen Roast Beef
When cooking frozen roast beef, you’ll need to increase the pressure cooking time to guarantee it becomes tender. For a frozen roast, skip searing and season the meat directly before cooking. Typically, you should add about 20-30 minutes to the regular pressure cook time for a thawed 3-5 lb roast.
In fact, increasing the cooking time by roughly 30 minutes per pound of frozen meat guarantees it cooks thoroughly. For example, a 3 lb frozen roast requires about 90 minutes of pressure cooking. Once cooking is complete, always allow a natural release to help tenderize the meat and prevent overcooking. Adjusting time this way guarantees your frozen roast turns out juicy and flavorful every time.
How and When to Add Vegetables During Cooking
When pressure cooking roast beef, you’ll want to add vegetables at the right time to keep them from overcooking. Hearty veggies like potatoes and carrots usually go in after the main cooking cycle, while quick-cooking ones can be added with the meat.
Adjust timing based on size and type to make sure everything stays tender and flavorful.
Timing For Vegetable Addition
Although adding vegetables might seem straightforward, timing their addition during pressure cooking is vital to achieve the perfect texture. For hearty vegetables like potatoes and carrots, add them at the start of pressure cooking. This allows 5-7 minutes, depending on size, to cook them thoroughly without turning mushy.
Softer vegetables, such as baby carrots or quick-cooking potatoes, should be added during the last 5 minutes of cooking to keep their firmness. Delicate vegetables like peas or green beans benefit from being placed on top after the initial pressure cycle and cooked for only 1-2 minutes.
Always consider the type and size of your vegetables when deciding the timing during pressure cooking to ensure they finish tender yet intact, complementing your roast beef perfectly.
Preventing Overcooked Vegetables
To prevent vegetables from overcooking during pressure cooking, you should add them at carefully timed intervals based on their density and texture. Add hearty vegetables like potatoes and carrots after the initial pressure cooking cycle, allowing 5-7 more minutes of high pressure.
Softer vegetables, such as zucchini or peas, should be added during the last 2-3 minutes or just before pressure release to keep their texture intact. Using quick pressure release immediately stops cooking, helping you avoid overcooking vegetables.
Alternatively, cook dense vegetables separately or finish with a quick sauté after removing the beef. Timing additions and using pressure release properly guarantees your vegetables stay tender but not mushy, perfectly complementing your roast beef without losing their natural texture.
How to Use Natural and Quick Pressure Release for Tender Meat
Since pressure release affects your roast’s texture, you’ll want to use a combination of natural and quick release methods. After pressure cooking, allow the pressure cooker to naturally release pressure for 10 to 20 minutes. This natural release lets the pressure drop gradually, helping break down connective tissues and lock in moisture, resulting in tender meat.
For larger beef cuts or maximum tenderness, lean toward the full 20 minutes of natural release. Once this time passes, use a quick release to vent any remaining steam. This prevents overcooking and keeps your roast juicy and shreddable.
How to Make Gravy From Instant Pot Drippings
Wondering how to turn those flavorful Instant Pot drippings into a delicious gravy? After you pressure cook your roast beef, remove the meat and veggies, then use the sauté function to simmer the drippings for 5-10 minutes to concentrate the flavor.
To thicken the gravy, whisk 1-2 tablespoons of cornstarch or flour with cold water, then stir it into the drippings slowly. For smooth gravy, strain through a fine-mesh strainer. Add a splash of cream or butter for richness, and season to taste.
| Step | Action | Tip |
|---|---|---|
| Simmer drippings | Use sauté for 5-10 minutes | Concentrates flavor |
| Make slurry | Mix cornstarch/flour + cold water | Thickens gravy |
| Strain | Use fine-mesh strainer | For smooth texture |
| Enhance & season | Add cream/butter, salt, pepper | Adjust to taste |
How to Store and Reheat Pressure Cooker Leftovers
When you have leftover pressure cooker roast beef, storing it properly helps preserve its flavor and texture. Place the leftovers in airtight containers and refrigerate for up to 3-4 days or freeze for up to 3 months. If frozen, thaw the beef overnight in the fridge to keep it tender and ensure even reheating.
To reheat, warm the beef in a covered skillet over medium heat, adding a splash of broth or water to maintain moisture. For a quicker option, use the microwave on medium power in 30-second intervals, keeping the dish covered. Reheat any gravy separately in a saucepan until hot, then pour it over the sliced or shredded beef before serving.
Proper storage and reheating will keep your roast beef delicious and ready to enjoy.
How to Troubleshoot Common Cooking Problems
If your pressure cooker roast beef turns out dry, tough, or undercooked, you can fix these issues by adjusting cooking times, searing properly, and selecting the right cut. Overcooking often leads to dry, tough meat, so stick to recommended times based on the roast’s weight and cut.
If you find your meat undercooked, increase the pressure cooking time—typically 60-80 minutes for a 3-5 lb chuck roast. Insufficient searing before cooking can cause poor flavor and moisture loss, so always brown all sides thoroughly.
Also, consider the roast’s marbling and size, as these affect tenderness. If vegetables become mushy, reduce their cooking time or cook them separately. By addressing these factors, you’ll consistently get tender, juicy roast beef from your pressure cooker.
Frequently Asked Questions
How Long to Cook a Roast in a Pressure Cooker on High?
You’ll cook a 3-5 pound thawed roast on high pressure for 60 to 80 minutes, adjusting time based on size and tenderness.
Don’t forget to natural release pressure for 10 minutes to keep it juicy and tender.
How Long to Pressure Can Roast Beef?
You typically pressure can roast beef for 75 to 90 minutes at 10-15 PSI.
Make sure to follow safe canning guidelines, including using a pressure canner and checking your altitude for accurate processing times.
How Much Time Does It Take to Cook Beef in a Pressure Cooker?
Picture a sizzling clock ticking down: you’ll cook beef 25 to 80 minutes in your pressure cooker, depending on size and cut.
Don’t forget to let pressure release naturally for perfect tenderness every time.
How Long to Cook a 4 Lb Roast in the Pressure Cooker?
You should pressure cook a 4 lb roast on high for about 80 minutes.
Remember to let it naturally release for 10-15 minutes afterward to keep it tender and juicy before serving.
Conclusion
So, you’ve mastered picking the perfect cut, seasoning like a pro, and even searing before pressure cooking—all to make roast beef tender in record time. Ironically, the hardest part might just be waiting for that natural pressure release without sneaking a taste early.
But hey, if patience isn’t your virtue, at least you’ve got gravy ready to cover any culinary impatience. Now, go impress yourself with that perfectly cooked roast!
Remember, knowing how long to pressure cook roast beef is key to achieving that melt-in-your-mouth texture. With these 10 easy steps, your roast beef will always turn out juicy and flavorful.