How You Bake Sourdough Bread in a Loaf Pan
To bake sourdough bread in a loaf pan, start by mixing your active starter, water, salt, and flour into a smooth dough.
Shape the dough tightly to fit your greased 9×5-inch pan, making sure to pinch the seam closed and place it seam-side down.
Proof the dough at room temperature or refrigerate it for enhanced flavor development.
Before baking, bring the dough to room temperature to ensure even rising.
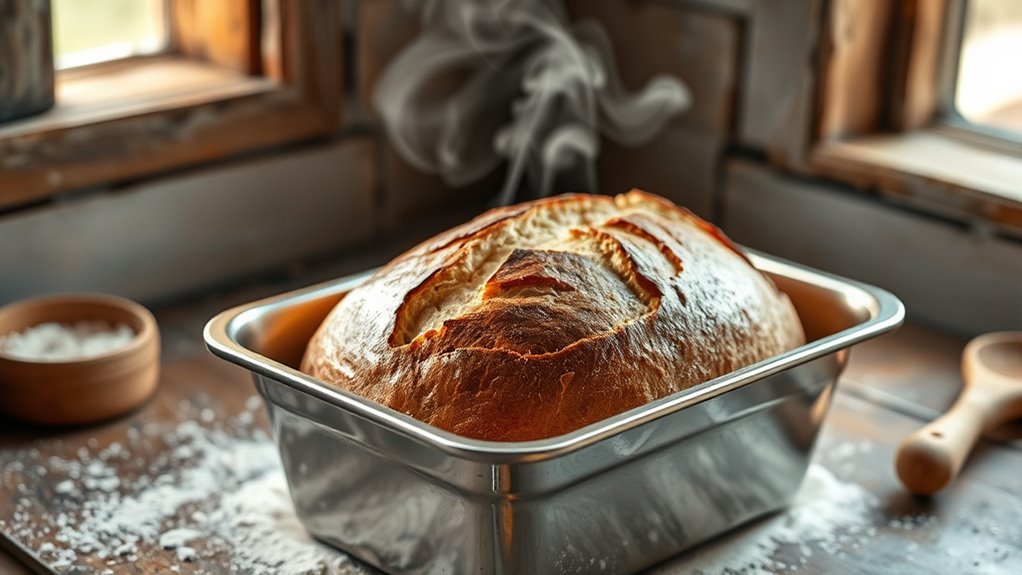
Bake the loaf at 425°F with steam to achieve a crisp crust.
After baking, let the bread cool on a rack before slicing to allow the crumb to set properly.
Keep going to uncover expert tips for flawless sourdough bread results.
Choosing the Best Loaf Pan for Your Sourdough Bread
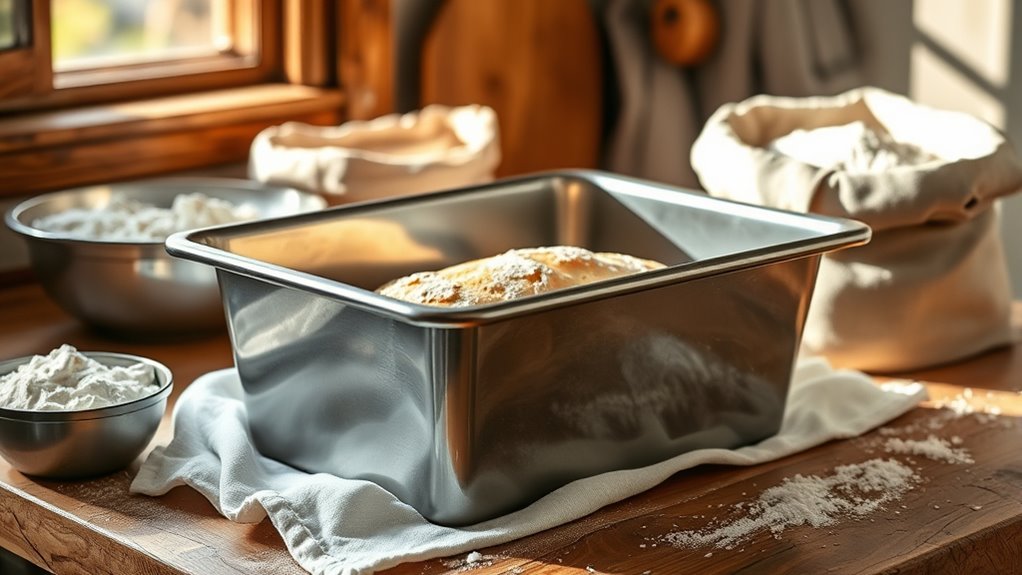
When you’re choosing a loaf pan for your sourdough bread, size and material matter a lot. A 9×5-inch pan is ideal, giving your dough enough space to rise and develop the perfect shape. You’ll want a pan about 3 inches deep to help your loaf maintain height and a uniform crumb.
When it comes to material, pick heat-safe options like stainless steel, glass, or ceramic. Avoid reactive metals that can alter your dough’s flavor or appearance. Glass pans offer even heat distribution, but metal pans usually bake a crisper crust and give your sourdough a professional look.
Don’t forget to lightly grease the pan or line it with parchment paper to prevent sticking and make removing your loaf easy after baking.
Mixing and Preparing Your Sourdough Dough for Loaf Pan Baking

Although sourdough baking can seem complex, mixing and preparing your dough for loaf pan baking follows a straightforward process. Start by combining active sourdough starter, water, and salt, then gradually mix in bread flour to form a shaggy sourdough dough. Let it rest for 30 minutes to kickstart gluten development.
Next, perform stretch and folds every 30 minutes until the dough becomes smooth, elastic, and slightly risen—a sign of proper fermentation. When ready, gently turn your dough onto a floured surface, de-gas it to remove excess air, and shape it into a uniform rectangle or oval.
This careful shaping ensures even contact and proper tension when transferring the dough seam-side-down into your prepared loaf pan, setting the stage for a beautiful, well-risen loaf.
Shaping Your Dough to Fit Perfectly in the Loaf Pan
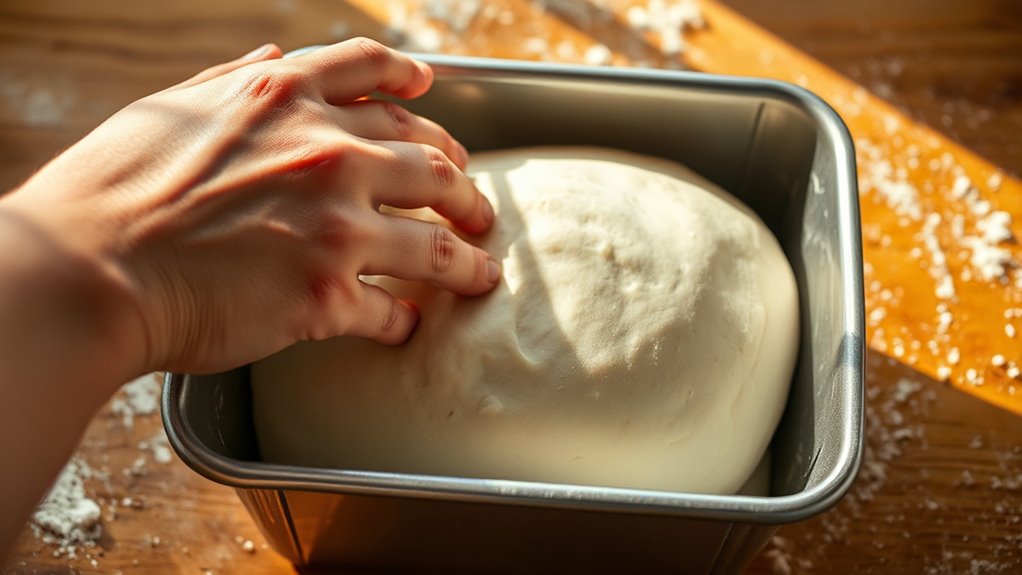
To shape your dough to fit perfectly in the loaf pan, start by forming a tight, smooth oval or log that creates surface tension. Make sure to pinch the seams closed along the length or at the bottom to keep the dough secure during proofing.
Placing the dough seam-side-down into the greased pan guarantees it holds its shape evenly as it bakes.
Oval Loaf Shaping
Since shaping your dough into an oval loaf guarantees it fits perfectly in your loaf pan, you’ll want to start by pre-shaping it into a round ball and letting it rest for 20 to 30 minutes to relax the gluten. This rest helps with gluten development, making the dough easier to shape.
On a floured surface, gently stretch the dough and pull the edges toward the center to maintain tension. Fold the sides inward, then roll the dough from one end into a tight, seamless log. Pinch the seam firmly closed at the bottom, ensuring even tension.
Finally, place the dough seam-side-down into the loaf pan. This oval loaf shaping technique supports proper proofing and helps your bread hold its shape while baking.
Seam Placement Techniques
When you pinch the seam closed tightly, you create the surface tension needed to help your dough hold its shape during proofing and baking. Proper seam placement is key to shaping your dough so it fits perfectly in the loaf pan. By maintaining good shape and tension, you ensure a smooth surface that won’t collapse or bulge as it proofs.
Place the dough seam-side-down in the pan to promote even rising, a clean top crust, and well-supported sides. Letting the dough rest after shaping relaxes the gluten, keeping the seam sealed and preventing it from opening during proofing.
Slightly under-shape your dough to allow room for expansion without overflowing or ripping the edges, ensuring a professional-looking loaf every time.
How to Proof Your Sourdough in a Loaf Pan (Room Temp & Cold)
Although proofing sourdough in a loaf pan requires patience, you’ll find that allowing the dough to rise at room temperature or in the refrigerator greatly influences the bread’s flavor and texture.
When proofing at room temperature, let the dough rise until nearly doubled, usually 2-4 hours. For cold proof, shape the dough in a greased or parchment-lined loaf pan and refrigerate for 8-48 hours to deepen flavor and improve texture.
Before baking, ensure the dough:
- Is puffed and jiggles slightly when shaken
- Passes the poke test by slowly springing back
- Has been brought to room temperature for 30-60 minutes if cold proofed—this step guarantees proper oven spring and a great crust.
Monitor closely to avoid over- or under-proofing for the best loaf.
Generating Steam and Setting the Oven for Loaf Pan Baking
You’ll want to preheat your oven to 425°F with a tray of hot water on the bottom rack to create steam. This steam helps your sourdough rise fully and develop a crisp crust during the first 20-25 minutes of baking.
After that, remove the water to let the crust finish crisping as you lower the temperature.
Steam Generation Techniques
Since steam plays a crucial role in achieving a crisp crust and good oven spring, you should generate it by placing a metal or oven-safe dish filled with hot water on the bottom rack during the initial baking phase. This water tray creates the necessary humidity for crust development.
Here’s how to do it effectively:
- Preheat your oven to about 450°F (232°C) with the water tray inside for steam readiness.
- After putting your loaf pan in, quickly add more hot water to the tray, boosting steam and promoting oven spring.
- Remove the water tray after 15-20 minutes to let the crust set and color without excess moisture.
Alternatively, trapping steam using a second loaf pan or covered vessel mimics Dutch oven effects, enhancing crust texture without a separate water tray.
Oven Temperature Settings
Generating steam during the initial baking phase sets the stage for a perfect crust, but managing your oven temperature plays an equally important role in how your sourdough loaf turns out. Start by preheating your oven to 425°F (218°C) at least 30 minutes before baking to ensure even heat and proper steam creation.
Place a heatproof dish filled with hot water on the lower rack to create steam during the initial baking. Bake the loaf at 425°F for 20-25 minutes with steam, then carefully remove the water tray and reduce the oven temperature to 350-375°F.
This temperature drop allows the crust to develop without burning while the inside finishes baking. Following these oven temperature settings will help you achieve a beautifully baked sourdough loaf in your pan.
Timing Steam Application
When you place a pan of hot water on the oven’s bottom rack before preheating to 450°F (232°C), you create the steam needed for a good crust. Timing steam application is key for sourdough in a loaf pan. Here’s what you do:
- Start with the water tray to generate steam during the initial baking phase, covering the loaf with foil or a second pan to trap moisture.
- After 20-25 minutes, remove the water tray and cover to let the crust develop properly.
- Lower the oven temperature to 400-425°F (204-218°C) to finish baking without over-browning.
This approach balances steam and heat, ensuring your sourdough loaf achieves a perfect crust and even baking inside.
Baking Time and Temperature Tips for Perfect Crust and Crumb
Although baking sourdough in a loaf pan requires careful temperature control, mastering this process guarantees a perfect crust and crumb every time. Start by baking at 425°F with steam for 20-25 minutes to encourage oven spring and a crisp crust. Remove the steam source after 15-20 minutes, then lower the temperature to 350-375°F for another 20-30 minutes to finish baking.
Adjust baking time depending on loaf size and hydration; larger loaves may need an extra 5-10 minutes. To avoid over-browning, cover the loaf with foil or a second pan during the initial phase. Always check the internal temperature, aiming for 190-210°F, to ensure your sourdough is fully baked.
This balance of baking time and temperature keeps your crust golden and crumb tender.
Checking Doneness and Cooling Your Sourdough Loaf Pan Bread
After carefully managing your baking time and temperature, the next step is to verify your sourdough loaf is fully baked and properly cooled. First, check the internal temperature with a digital thermometer; it should read at least 190°F (88°C). Next, examine the crust color—it should be a deep golden brown.
Finally, tap the loaf’s bottom; a hollow sound signals doneness. Once baked, remove the bread from the loaf pan and place it on a wire rack. Allow for at least 1 hour of cooling time so the crumb texture can set evenly, preventing gumminess and moisture issues. Avoid slicing while warm, as this can squash the crumb and ruin the texture. These steps ensure your sourdough is perfect inside and out.
Common Sourdough Loaf Pan Baking Problems and How to Fix Them
Baking sourdough in a loaf pan can present challenges like ripping or tearing, which usually stem from proofing or shaping issues. Rips often occur if your dough is under-proofed, meaning gluten development is incomplete and weak spots form. On the other hand, over-proofing causes excessive expansion, loss of tension, and tearing during oven spring.
To fix this, focus on proper proofing times and develop gluten through consistent stretch and folds. Insufficient shaping tension also leads to rips, so be sure to handle the dough gently and create a tight surface. Don’t forget scoring, as it controls oven spring and prevents random tears.
In the end, if your hydration is high, manage the dough carefully to maintain strength and avoid weak areas prone to ripping.
Frequently Asked Questions
Can I Bake My Sourdough in a Loaf Pan?
Yes, you can bake your sourdough in a loaf pan. Just make sure your dough’s well-proofed, shape it to fit, and use proper heat with steam.
Cool it fully afterward for the best texture and crust.
How Do You Adjust Baking Time for Loaf Pans?
Don’t let your loaf burn faster than your patience—reduce baking time by 5–10 minutes compared to free-form loaves.
Keep an eye on it, and don’t be shy to poke or probe with a thermometer.
What Is the Biggest Mistake Beginners Make With Sourdough Bread?
The biggest mistake you make is under-proofing your sourdough, which stops proper oven spring and leaves your bread dense.
Make sure to let your dough rise fully so you get that perfect, airy texture every time.
Can You Use a Loaf Pan Instead of a Dutch Oven for Bread?
Of course, you can trust a loaf pan to be your Dutch oven’s doppelgänger—just without the heavy lid drama. It shapes your bread, keeps things cozy, and you’ll still get that crusty glory with a little steam magic.
Conclusion
Baking sourdough in a loaf pan is like painting on a perfect canvas—you’ve got the tools and technique to create something beautiful. With the right pan, careful shaping, proper proofing, and attentive baking, you’ll turn simple dough into a golden, crusty masterpiece.
Remember, every loaf teaches you something new, so don’t be afraid to experiment. Keep practicing, and soon your kitchen will smell like a cozy bakery every day.
By mastering the art of baking sourdough bread in a loaf pan, you’ll enjoy delicious homemade bread with a perfect crust and crumb. Embrace the process and watch your skills rise with each bake.