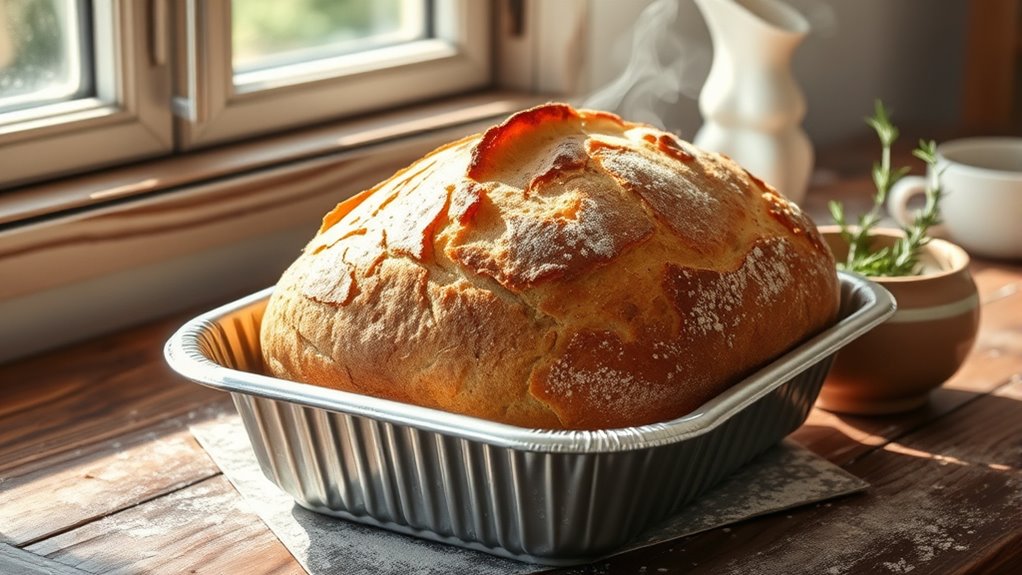
How You Bake Sourdough in an Aluminum Pan
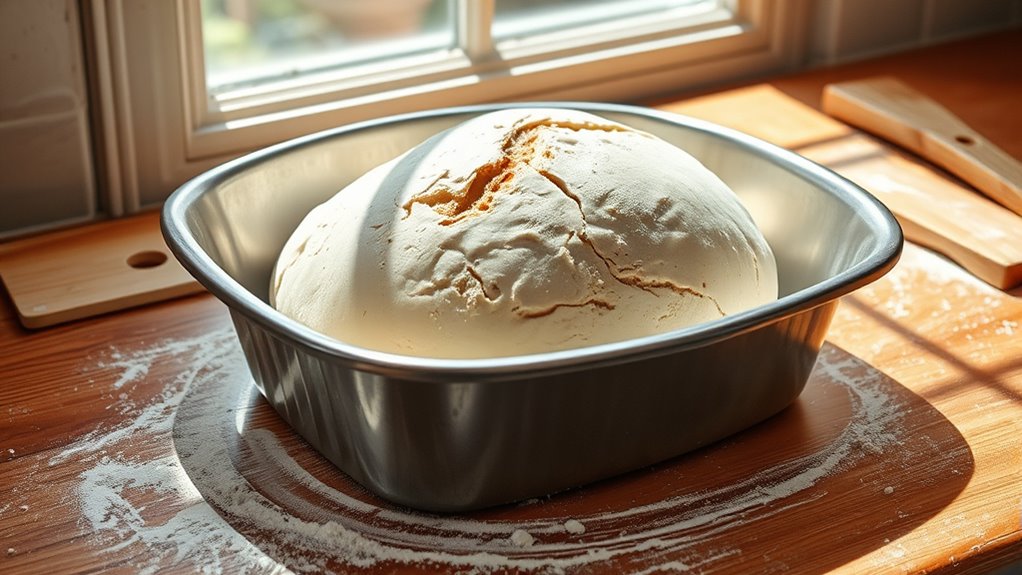
To bake sourdough in an aluminum pan, start by shaping the dough to fit snugly inside the pan. Proof the dough until it is nearly doubled in size and slightly jiggly to achieve the perfect rise.
Preheat your oven to around 425°F, placing a steam tray inside to create moisture. Then, place the dough seam-side down in the aluminum pan for even heat distribution.
Cover the dough with a preheated aluminum pan to trap steam and moisture, which helps develop a crisp crust and soft crumb. Finish baking uncovered to allow the loaf to brown beautifully.
Aluminum pans heat evenly, making the baking process efficient and consistent. Keep reading to discover more tips and tricks for baking perfect sourdough every time.
How to Prepare Your Dough for Baking in an Aluminum Pan
Before baking your sourdough in an aluminum pan, start by mixing the ingredients and performing stretch and folds until the dough becomes elastic and well-developed. This essential dough preparation guarantees a strong gluten network, crucial for good oven spring.
Next, pre-shape the dough into a smooth ball and let it rest briefly. Then shape it into an oval or log that fits snugly into your aluminum pan. Use a bench knife to transfer the dough seam-side down into a greased or parchment-lined pan to maintain shape.
Proof your dough until it nearly doubles in size and feels lightly jiggly—this stage prevents tearing during baking. Whether you proof at room temperature for 2-4 hours or refrigerate overnight, proper proofing sets you up for a perfect loaf.
Shaping and Proofing Tips for Aluminum Pan Loaves
Start by shaping your dough with gentle tension, turning it into a smooth oval or log to fit your aluminum pan perfectly. Proof it until it’s about 90% risen and slightly jiggly, so you avoid over-proofing and keep the dough strong.
Using a bench scraper helps you handle the dough carefully, preventing rips and ensuring a beautiful oven spring.
Shaping Techniques For Loaves
When shaping sourdough for an aluminum pan, you’ll want to pre-shape the dough into a round and let it rest to build tension before forming it into an oval or log. During shaping dough, gently stretch and fold to create surface tension, which helps prevent rips and ensures an even rise.
Be sure to pinch the seam closed tightly; seam closure keeps the loaf’s structure intact during proofing and baking, giving you straight sides and a smooth top. For pan placement, set the shaped dough seam-side-down in a well-greased or parchment-lined aluminum pan.
Make the dough slightly smaller than the pan to allow room for proofing expansion, reducing the risk of tearing or over-proofing. This careful shaping and handling will improve your loaf’s final texture and appearance.
Proofing Duration Guidelines
Although proofing times can vary based on factors like dough hydration, temperature, and starter activity, you’ll typically proof your sourdough for 2 to 4 hours at room temperature when baking in an aluminum pan.
Proper proofing means your dough nearly doubles in size and passes the proofing test: when gently pressed, it should feel slightly jiggly. Under-proofed dough might tear during baking, while over-proofed dough can collapse. Use the poke test to check proofing time and avoid these issues.
| Proofing Duration | Dough Appearance | Result |
|---|---|---|
| Under 2 hours | Dense, tight | Under-proofed, tears |
| 2-3 hours | Slightly domed | Ideal proofing |
| 3-4 hours | Fully risen, jiggly | Perfect texture |
| 4+ hours | Collapsed or flat | Over-proofed, dense |
Preventing Dough Rips
Proofing your dough to the right stage helps prevent rips, but shaping plays an equally important role in ensuring your sourdough holds up in an aluminum pan. To avoid dough rips, focus on shaping by stretching the dough into a tight oval or log, creating strong surface tension, and pinching the seam closed before placing it seam-side-down in the pan.
Proof your dough until it nearly doubles and gently jiggles—this stage builds strength to hold its shape without tearing during baking. Longer proofing times develop more dough strength, reducing side rips from weak edges.
Handle the dough gently during transfer and avoid scoring if proofed 3-4 hours, as it can cause tears. If proofed around two hours, score lightly to encourage oven spring without compromising dough integrity.
How to Set Up Your Oven and Aluminum Pans for Great Bread
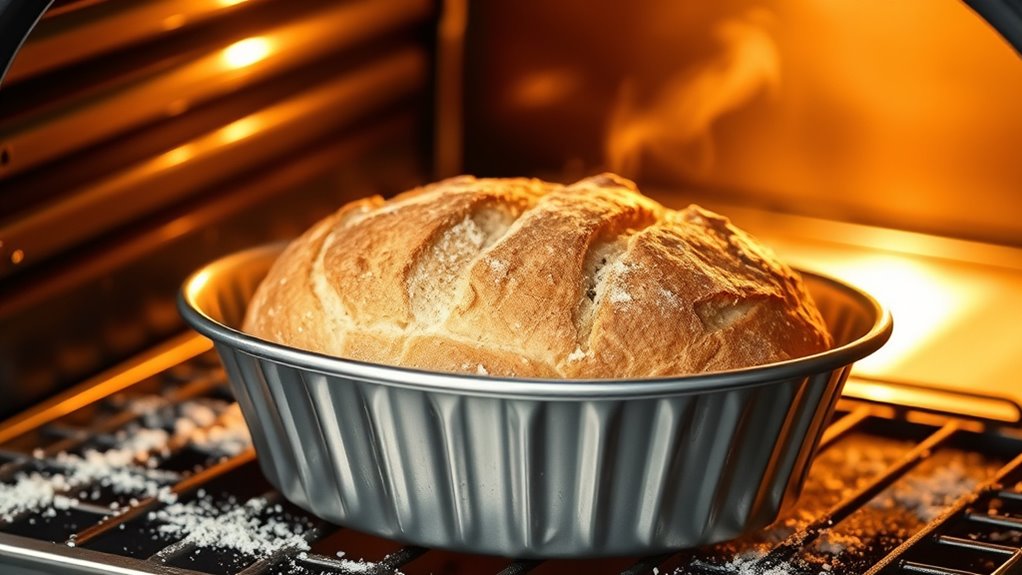
To achieve a perfect sourdough crust, you’ll want to preheat your oven to 425°F (218°C) at least 30 minutes in advance to guarantee even heat distribution. This oven setup helps maintain a consistent oven temperature essential for baking bread.
Place a metal baking pan or cast iron skillet on the bottom rack to act as a steam tray. Just before sliding your aluminum pan with dough inside, pour hot water into the steam tray to generate steam, which supports proper crust formation.
Position your dough in the aluminum pan on a middle rack for even heat exposure. This setup ensures your sourdough bakes evenly, developing a beautifully crisp crust while keeping the crumb moist and tender.
Using Aluminum Pans as Covers to Trap Steam and Moisture
Enhancing steam inside your oven can take your sourdough crust to the next level, and aluminum pans make excellent covers for this purpose. Start by preheating an aluminum pan in your 450°F oven; this prevents sticking and ensures even heat distribution when you use it as a cover.
Place your dough in an aluminum pan and seal it tightly with the preheated cover, securing it with binder clips or heat-resistant fasteners. This airtight seal maximizes steam retention, creating a humid environment that promotes a crispy crust.
For extra moisture, you can add hot water-filled aluminum pans around or beneath your loaf. Using disposable aluminum pans as covers is a simple, effective way to trap steam and moisture without needing specialized equipment, helping you bake perfect sourdough every time.
Adjust Baking Time and Temperature to Perfect Your Aluminum Pan Loaf
Although aluminum pans conduct heat quickly, you’ll want to lower your oven temperature by about 10-15°F when baking sourdough to prevent the crust from over-browning. Start baking at a high oven temperature around 425°F with steam to jumpstart crust development, then reduce it to 375-400°F midway through.
Because aluminum pans heat fast and unevenly, extend your baking time by 5-10 minutes to ensure the loaf reaches an internal temperature of 190-200°F, signaling proper doneness. Use an oven thermometer to monitor this precisely and avoid overbaking, which can dry out the bread.
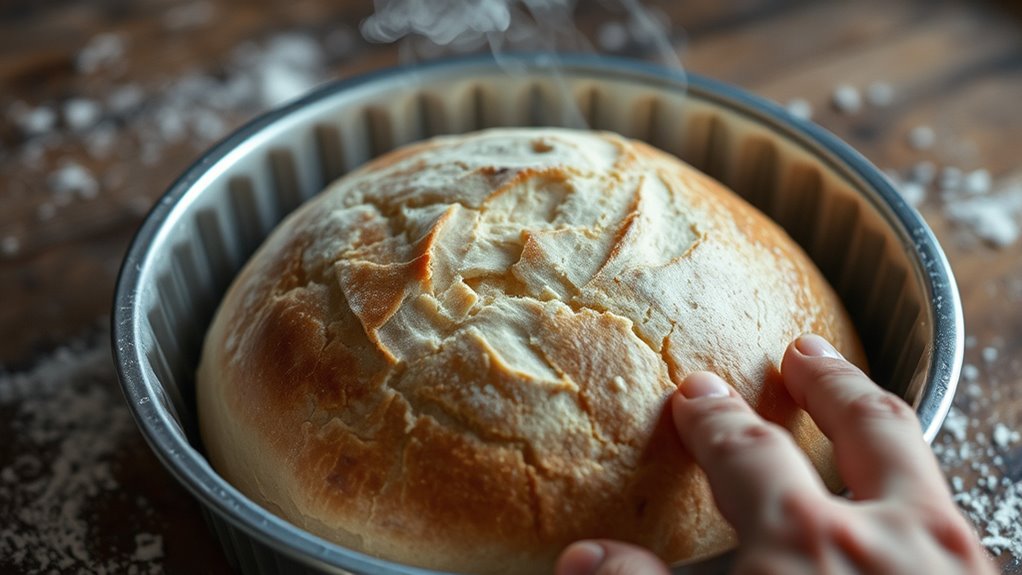
Watch for a deep golden crust as your visual cue to remove the loaf promptly. Adjusting baking time and oven temperature carefully will help you master sourdough in your aluminum pan every time.
Troubleshooting Aluminum Pan Sourdough Baking Issues
When you run into issues baking sourdough in an aluminum pan, pinpointing the cause quickly will save your loaf. If your dough sticks or tears, line the pan with parchment paper to prevent direct contact with the aluminum. During proofing, ensure your pan is deep enough to allow proper dough expansion without spilling.
For a crisp crust, generate steam by placing hot water or ice cubes in a tray beneath the pan or covering the dough with an aluminum lid. Preheat your pan to help trap steam effectively. If the crust isn’t browning well, remove the cover during the last minutes in the oven to let it crisp.
These troubleshooting steps help you manage steam, sticking, crust development, and proofing challenges efficiently.
Benefits of Baking Sourdough in Aluminum Pans
You’ll appreciate how aluminum pans retain moisture, helping your sourdough develop a perfect crust and oven spring. Their excellent heat conductivity guarantees even baking throughout the loaf.
Using aluminum means you get consistent results with less hassle every time you bake.
Moisture Retention Advantages
How does baking sourdough in aluminum pans help you achieve a perfectly moist loaf? Aluminum pans excel in moisture retention by creating a sealed, steam environment that traps humidity during baking. This steam environment supports ideal crust development without drying out your bread.
Thanks to the even heat distribution of aluminum pans, moisture spreads uniformly throughout the dough, preventing hard or overly dry spots. You can enhance humidity control by filling the pan with hot water, which maintains a tender crumb and soft interior.
Using aluminum pans simplifies your baking process since their moisture retention reduces the need for extra steam injection methods. Overall, aluminum pans provide a balanced humidity and heat setting that keeps your sourdough moist and delicious from crust to crumb.
Heat Conductivity Benefits
Alongside moisture retention, the heat conductivity of aluminum pans plays a key role in baking sourdough. Aluminum’s high thermal conductivity means it heats up quickly and distributes heat evenly, preventing hot spots that can cause uneven baking. This even heat distribution ensures your sourdough develops a crisp crust while maintaining a consistent crumb throughout the loaf.
You’ll notice that aluminum pans require shorter preheating times compared to heavier materials like cast iron, making your baking process more efficient. Because aluminum responds rapidly to temperature changes, you gain better control over baking conditions, allowing you to achieve perfect results every time.
Using an aluminum pan helps you bake sourdough with a beautifully textured crust and an evenly baked interior without hassle.
Comparing Aluminum Pans to Other Bakeware for Sourdough Baking
Although cast iron and other bakeware options have their merits, aluminum pans stand out for sourdough baking due to their quick, even heating and lighter weight. When baking sourdough bread, aluminum pans excel in heat transfer, allowing your loaf to bake faster and develop a uniform crust during oven baking. Unlike heavier cast iron, aluminum pans don’t need preheating, making them more convenient for home baking.
Their reflective surface distributes heat evenly, promoting consistent crust development. While cast iron retains heat longer, aluminum pans are more affordable and easier to handle. Keep in mind, though, aluminum pans may dent or warp over time with heavy use.
Frequently Asked Questions
Can You Bake Sourdough in an Aluminum Pan?
Yes, you can bake sourdough in an aluminum pan. Just preheat it properly, use a cover to trap steam, and secure it safely.
This method helps develop a great crust and soft crumb for your bread.
Do Things Take Longer to Bake in Aluminum Pans?
Think of aluminum pans as fast cars—they speed up the baking process. You won’t need more time; in fact, things usually bake quicker, so keep an eye on your sourdough to avoid overcooking or burning.
Can I Use Aluminum Foil Instead of Parchment Paper to Bake Sourdough?
You can use aluminum foil instead of parchment paper, but you’ll need to grease it well to prevent sticking.
Foil may cause uneven heat and crust, so watch your sourdough closely while baking for best results.
Can You Bake Bread in Aluminum Foil Pans?
Of course, you can bake bread in aluminum foil pans—they’re basically the luxury hotel of bread baking, right? Just grease or line them, and watch your sourdough rise beautifully without fancy equipment or fuss.
They’re lightweight, disposable, and conduct heat well, making them a convenient option for baking bread. Plus, cleanup is a breeze since you can just toss them after use.
Just be mindful that aluminum foil pans can be flimsy, so handle them gently to avoid spills. Overall, they’re a great choice for hassle-free bread baking.
Conclusion
So, you’ve survived the aluminum pan sourdough saga—congratulations! Who knew that baking bread could involve so much science and a touch of metal magic? If you want crusty, chewy loaves without the drama of fancy Dutch ovens, aluminum pans are your new best friend (or frenemy).
Just don’t blame me when your kitchen smells like a chemistry lab. Bake boldly, embrace the quirks, and enjoy your perfectly imperfect aluminum pan masterpiece! Remember, baking sourdough in an aluminum pan offers a unique experience that combines convenience and great results.
With the right technique, your aluminum pan sourdough can have a delicious crust and a tender crumb every time. Happy baking!