How You Cook Steak on a Non Stick Pan Step by Step
Choose a steak at least 1 inch thick with good marbling, thaw it fully, and bring it to room temperature. This is essential for cooking steak on a non-stick pan to ensure even cooking and a juicy result.
Pat the steak dry, then season with kosher salt 30 minutes ahead to enhance flavor.
Add pepper just before cooking to prevent burning.
Heat your non-stick pan over medium-high heat until hot, then add oil.
Sear the steak for 2-3 minutes per side, flipping gently to develop a nice crust without damaging the pan’s surface.
Use a thermometer to check for your desired doneness.
Once cooked, rest the steak for a few minutes before slicing to retain juices.
Serve and enjoy your perfectly cooked steak.
Keep going to master all the key steps and tips for cooking steak on a non-stick pan.
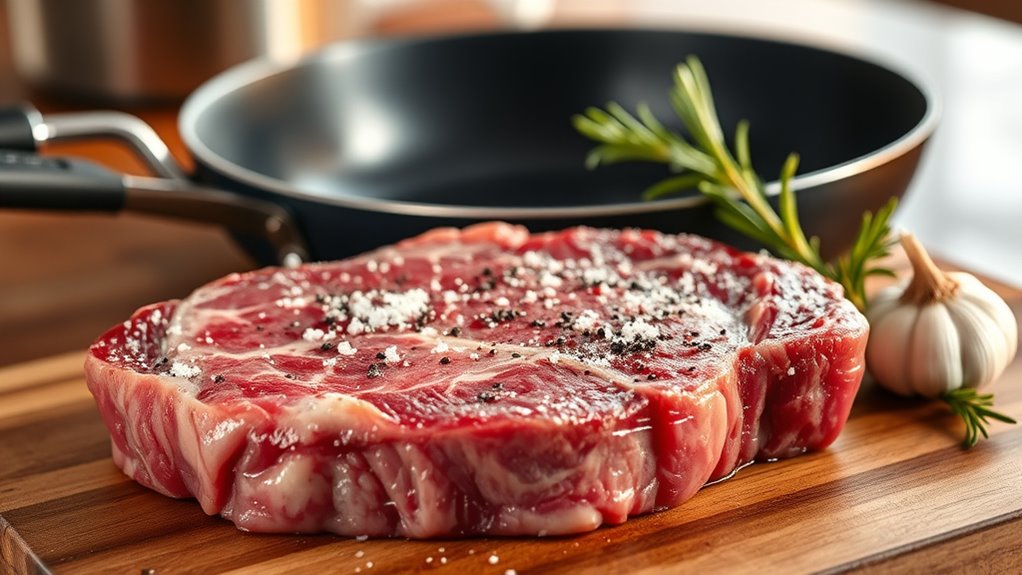
Choose the Right Steak for Your Non-Stick Pan
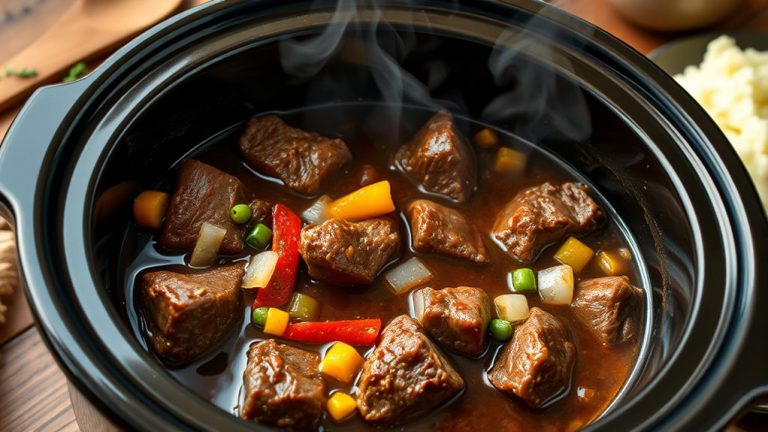
When you’re cooking steak on a non-stick pan, choosing the right cut is essential to getting the best flavor and texture. Opt for boneless steaks that are at least 1 inch thick, like New York strip or ribeye, to ensure uniform cooking and a juicy result.
Thick steaks with good marbling, such as ribeye or sirloin, deliver rich flavor and moisture, making them ideal for non-stick pans. Avoid very lean cuts like filet mignon if you want more taste and juiciness.
Pay attention to steak thickness and select high-quality cuts with even thickness and minimal connective tissue; this helps cook the steak evenly without overcooking. While thinner steaks cook faster and are easier to manage, thick steaks with marbling provide the best balance of flavor and texture.
Thaw and Bring Your Steak to Room Temperature
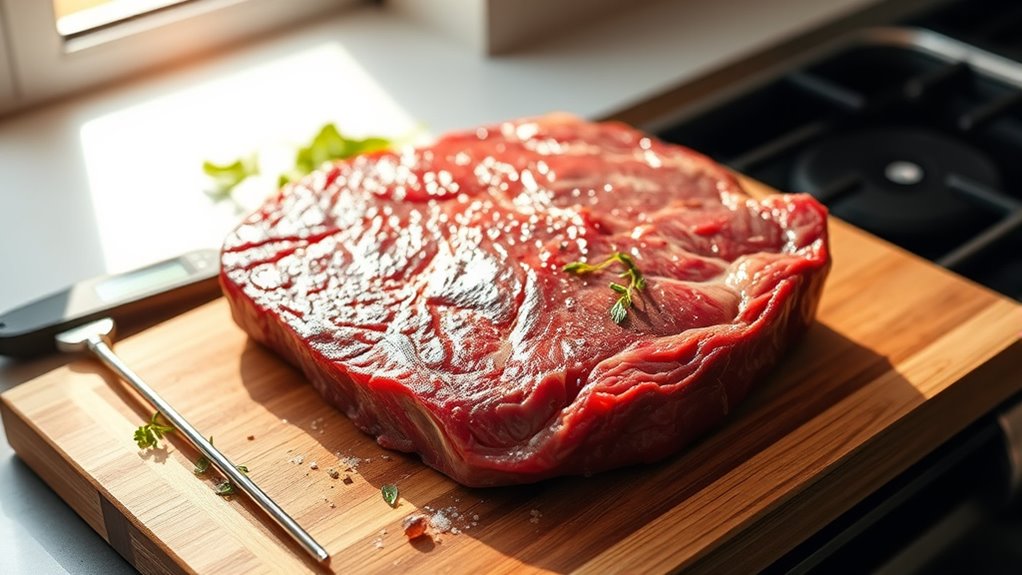
Although it takes some planning, thawing your steak in the refrigerator for 24 hours guarantees it cooks evenly. This vital preparation step ensures even cooking and prevents cold spots.
After thawing, remove your steak and let it rest at room temperature for 30 to 40 minutes. This resting period helps the steak cook uniformly and develop a better crust.
Before cooking, remember to:
- Pat dry the steak thoroughly with paper towels
- Remove excess moisture that hinders browning
- Avoid cooking the steak straight from the fridge
- Allow the steak to rest at room temperature for ideal results
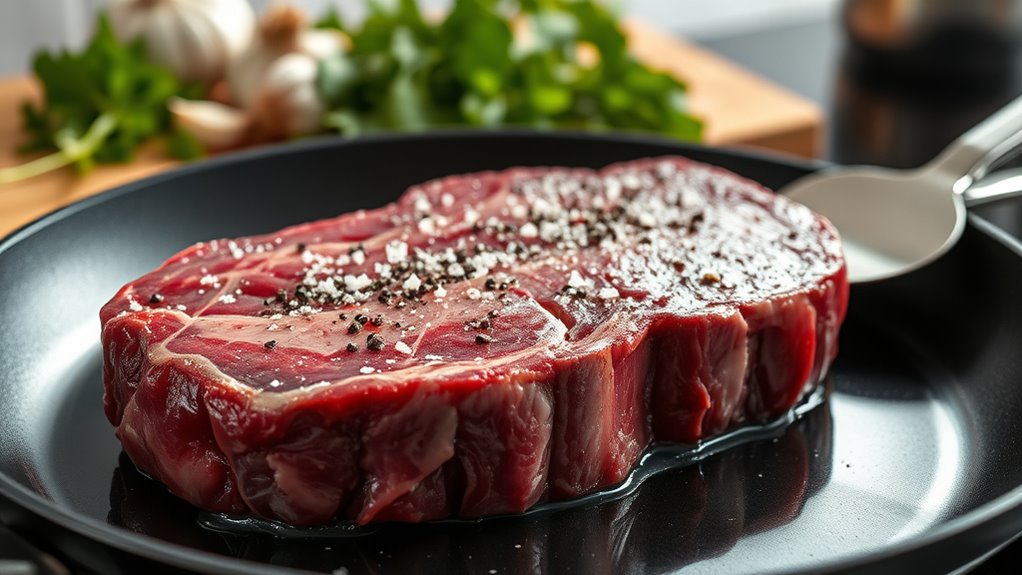
Season Your Steak for Maximum Flavor and Crust
To get the best flavor and crust, season your steak generously with kosher salt at least 30 minutes before cooking. Pat it dry to guarantee a perfect sear and add freshly ground pepper or spices just before placing it in the pan.
Timing your salt application is key to letting it penetrate and dry the steak’s surface for maximum taste.
Ideal Seasoning Choices
Because seasoning plays an essential role in developing flavor and crust, you should generously apply kosher salt and freshly ground black pepper to your steak well before cooking.
This seasoning forms the foundation for a delicious crust and enhances the steak’s natural taste. Avoid adding spices or pepper prior to searing, as they can burn and cause bitterness.
Instead, focus on these ideal choices:
- Use kosher salt evenly across the steak to draw out moisture and deepen flavor.
- Freshly ground black pepper adds a sharp, aromatic note; consider adding some after cooking.
- Incorporate herbs like rosemary or thyme in the pan to infuse the steak with subtle herbal aroma.
- Add garlic during cooking to enhance the seasoned steak’s complexity without burning spices.
Pat your steak dry before cooking to ensure a perfect crust every time.
Timing For Salt Application
Seasoning your steak with kosher salt does more than just add flavor—it sets the stage for a great crust. The proper timing of salt application is vital for flavor enhancement and crust formation. Salt your steak generously at least 30 minutes before cooking, or up to 24 hours ahead during preparation.
This salting time allows salt to draw out moisture, which then reabsorbs, intensifying seasoning and creating a dry surface. After salting and refrigeration, pat the steak dry to guarantee ideal searing in your non-stick pan. Avoid adding additional spices or pepper before this step to prevent burning.
Heat Your Non-Stick Skillet for a Perfect Sear
When you heat your non-stick skillet over medium-high heat for about five minutes until it just starts to smoke, you set the stage for a perfect sear. Preheating the pan properly assures even heat distribution, essential for cooking steak evenly and achieving that rich browning. Avoid adding oil before the pan is hot, as it can interfere with searing.
Test your hot pan by sprinkling a few drops of water—if they evaporate instantly, you’re ready.
- Use a heavy-bottomed non-stick skillet for consistent high heat
- Preheat the pan without oil to promote better browning
- Maintain medium-high heat for an ideal sear
- Confirm the pan’s readiness by the quick evaporation of water droplets
This approach guarantees a beautifully caramelized crust every time.
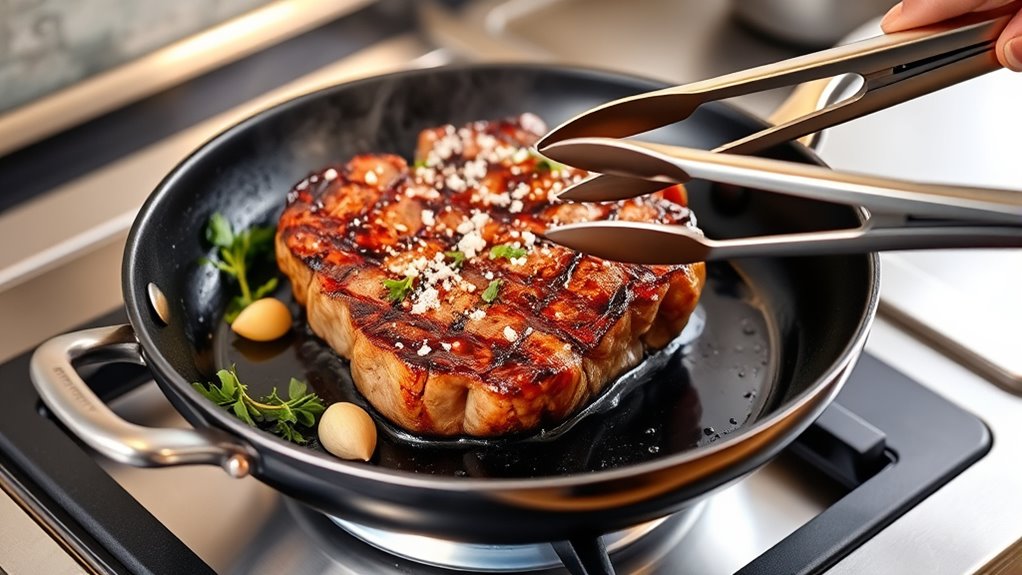
How to Sear and Flip Steak on Your Non-Stick Pan
You want your non-stick pan hot enough to create a golden-brown crust without sticking. Cook the steak for about 2-3 minutes before flipping carefully with tongs or a spatula.
Timing your flip just before the halfway point helps make certain of even searing on both sides.
Optimal Pan Temperature
How hot should your non-stick pan be to achieve the perfect sear on a steak? Preheat your pan over medium-high heat until it just starts to smoke, signaling the ideal pan temperature for searing. Use an oil with a high smoke point to prevent burning and encourage crust formation.
Keep your pan hot but avoid overheating by adjusting the heat to maintain temperature. Here’s what you need to do:
- Preheat the pan for about 5 minutes to reach medium-high heat.
- Choose oils like canola or vegetable for their high oil smoke point.
- Place steak carefully without overcrowding to keep the hot pan steady.
- Adjust heat as needed to maintain temperature and promote even searing.
This approach guarantees a beautiful crust while protecting your non-stick surface.
Timing The Perfect Flip
Although timing the flip might seem straightforward, getting it just right is essential to developing a perfect sear on your steak. You want to flip approximately 1 minute before the halfway point of your total cooking time for even doneness and a balanced crust. Use tongs gently to avoid piercing and losing juices.
For a 1-inch steak on high heat, flip every 1 to 2 minutes. Multi-flip techniques, flipping every 30–60 seconds, promote uniform searing. Track your intervals with a timer to adjust for thickness and desired doneness.
| Steak Thickness | Flip Interval |
|---|---|
| 1-inch | Every 1 to 2 minutes |
| Thicker | Adjust accordingly |
| Multi-flip | Every 30 to 60 secs |
Check Doneness With a Meat Thermometer
When cooking steak on a non-stick pan, checking doneness with a meat thermometer guarantees you hit the perfect temperature every time. Use a reliable digital meat thermometer for an accurate measurement of the internal temperature. Insert the thermometer into the thickest part of the steak, avoiding bone or fat, to ensure precise thermometer insertion.
Keep an eye on the temperature during the final cook time to avoid overcooking. Remove the steak when the internal temperature is about 5°F below your target doneness, accounting for carryover cooking.
- Aim for 125°F for rare, 135°F for medium-rare, 145°F for medium, 155°F for medium-well, and 165°F for well done.
- Monitor steak doneness continuously for best results.
- Use the thermometer to adjust cook time accurately.
- Trust the internal temperature over appearance for perfect doneness.
Rest Your Steak After Cooking on a Non-Stick Pan
Since steak continues to cook slightly after you take it off the pan, you’ll want to let it rest for 5 to 10 minutes to keep it juicy and flavorful. Resting allows the juices to redistribute evenly throughout the meat, preventing them from spilling out when you slice.
Cover your steak lightly with foil during this time to retain heat without trapping excess moisture. Remember, the internal temperature can rise by up to 5°F due to carryover cooking, so remove your steak from the pan just before it reaches your target temperature. Skipping the rest means those precious juices escape as soon as you cut in, leaving you with a drier, less moist steak. Taking this step ensures every bite stays tender and full of flavor.
Slice and Serve Your Steak for Best Flavor
After letting your steak rest and retain its juices, slicing it properly is key to maximizing tenderness and flavor. To get the best results, follow these steps:
- Use a sharp knife to slice the steak cleanly and evenly.
- Always slice against the grain to ensure tender, easy-to-chew cuts.
- Rest the steak for 5-10 minutes before slicing to keep it juicy.
- Serve your sliced steak immediately, drizzling with pan juices or sauce for extra moisture and flavor.
Store Leftover Pan-Seared Steak Safely
To keep your leftover pan-seared steak safe and tasty, you need to store it properly within two hours of cooking. Place the leftover steak in an airtight container and refrigerate it promptly to slow bacterial growth. Consume refrigerated steak within 3 to 4 days to maintain ideal freshness and food safety.
If you want to store steak longer, freeze steak by vacuum-sealing or wrapping it tightly in plastic wrap and aluminum foil; this extends storage time up to 3 months. When reheating, do so gently using a low-temperature oven or stovetop to preserve moisture and texture. Always reheat steak safely to an internal temperature of at least 165°F (74°C) before eating.
Following these steps ensures your leftover steak stays delicious and safe to enjoy later.
Frequently Asked Questions
How to Cook Steak in a Nonstick Pan?
You heat a heavy nonstick pan until hot, pat your steak dry, season it well, and sear each side for a few minutes.
Flip frequently, baste if you want, then rest before slicing to enjoy.
What Is the 3 3 2 2 Rule for Steak?
Think of the 3-3-2-2 rule as a rhythmic dance for your steak: you’ll sear 3 minutes on each side, then flip for 2 minutes twice more, locking in juicy, perfect doneness every time you cook.
This method ensures even cooking and a beautifully caramelized crust. It’s simple, effective, and perfect for achieving steakhouse-quality results at home.
What Is the 3 3 2 2 Rule?
The 3-3-2-2 rule means you sear your steak for 3 minutes each side, rest 3 minutes, cook 2 minutes each side more, then rest 2 minutes.
It helps you get a juicy, medium-rare steak every time.
Is It Okay to Cook Steak in a Normal Non-Stick Pan?
You can cook steak in a normal non-stick pan, just like 70% of home cooks who do it successfully. Preheat the pan well, use high-smoke-point oil, and avoid super high heat to protect the coating.
This approach helps you get a good sear while preserving the pan’s surface. Just be patient and let the steak cook evenly without moving it too much.
Conclusion
Cooking steak on a non-stick pan might seem tricky, but it’s totally doable and delivers great results. You don’t need a cast iron skillet to get a delicious sear and juicy interior. Just pick the right cut, season well, and control your heat.
With these steps, you’ll enjoy a perfectly cooked steak without the hassle or extra cleanup. Give it a try—you’ll be surprised how easy and tasty it can be! Cooking steak on a non-stick pan is a simple method that ensures a flavorful and juicy steak every time.